Polished Bliss®: E46 M3 & Nanolex...
 31 January 2011, 02:59 PM
#1
Former Sponsor
Thread Starter

Join Date: Mar 2007
Location: Aberdeen
Posts: 181
Likes: 0
Received 0 Likes
on
0 Posts
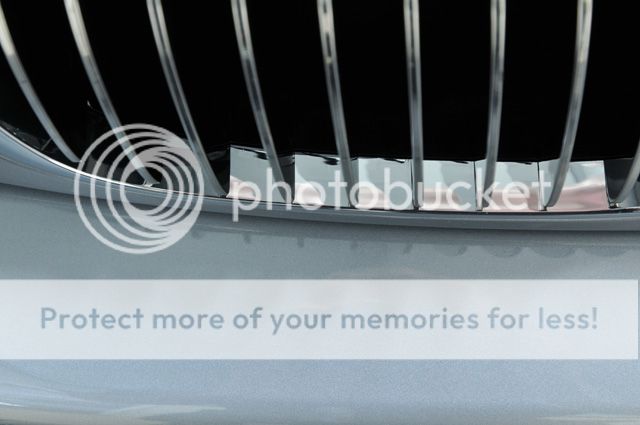
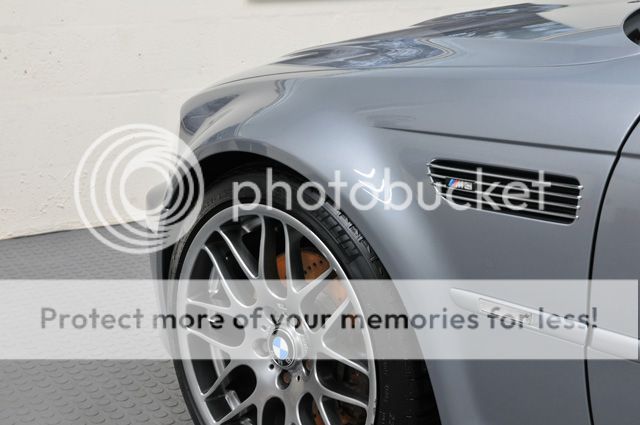
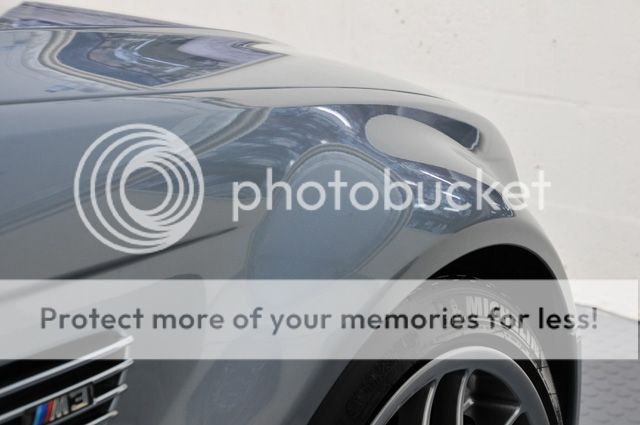
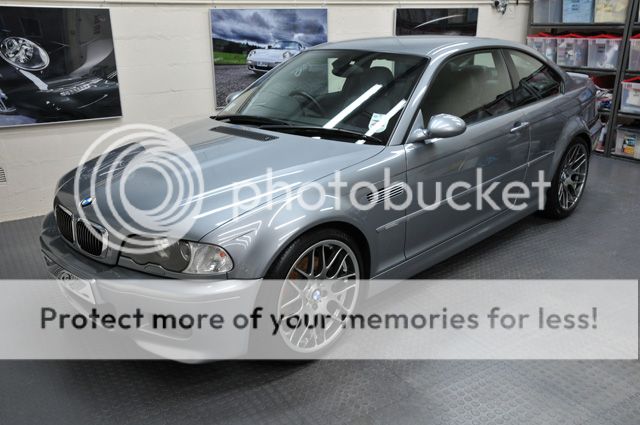
This was the latest car in for the Nanolex treatment as part of a Protection Detail:
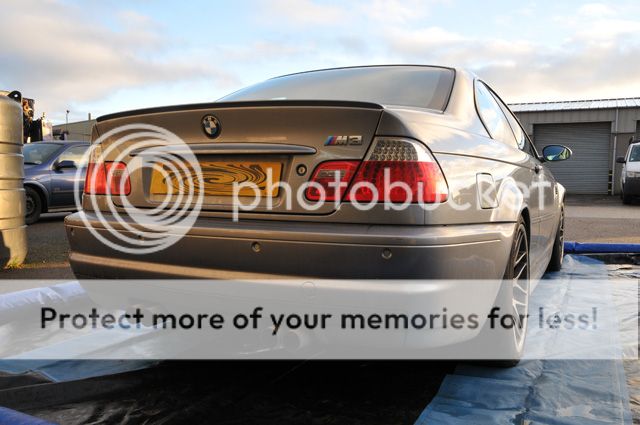
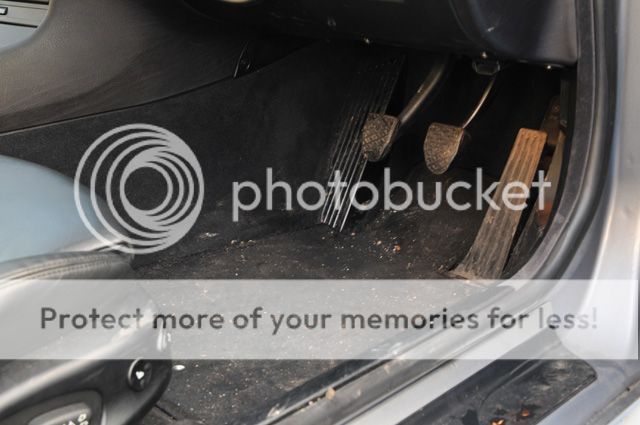
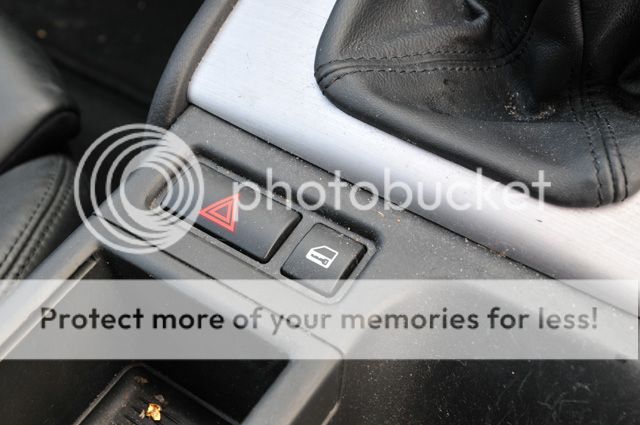
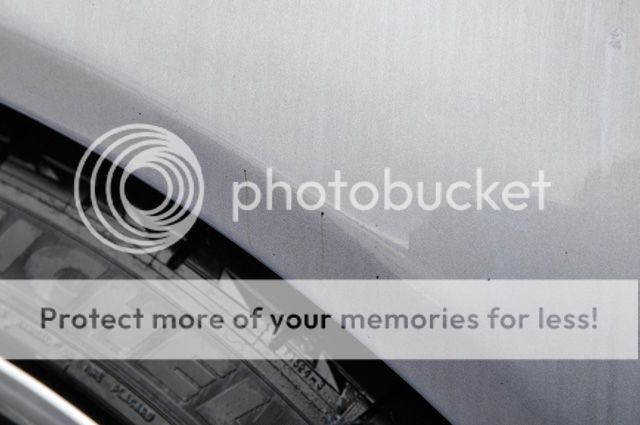
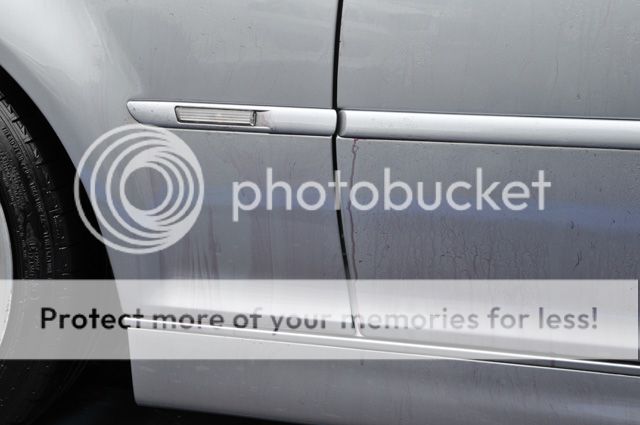
By the owners own admission, the car had been neglected during the winter months and was looking a bit sorry for itself as a result:
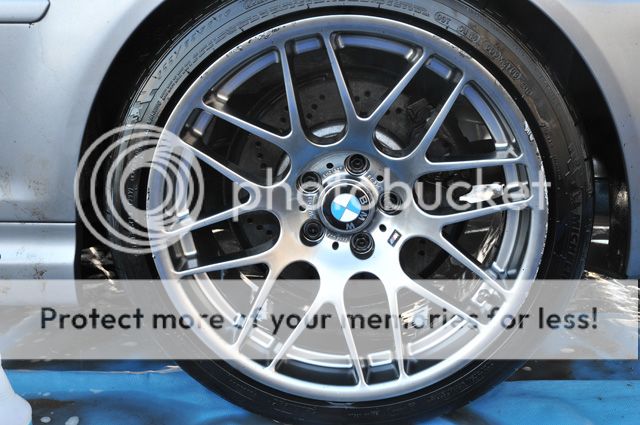
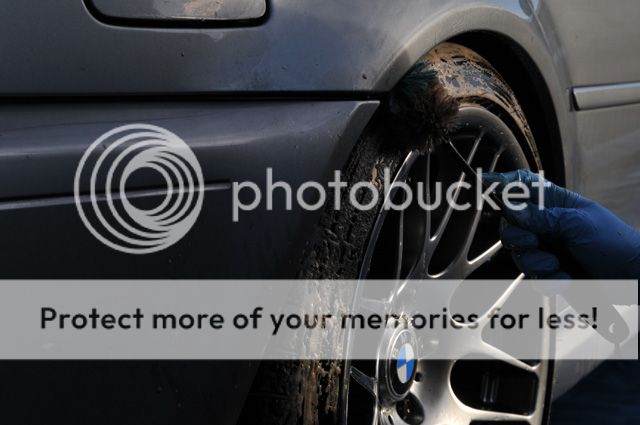
Wheels in need of a refurb:

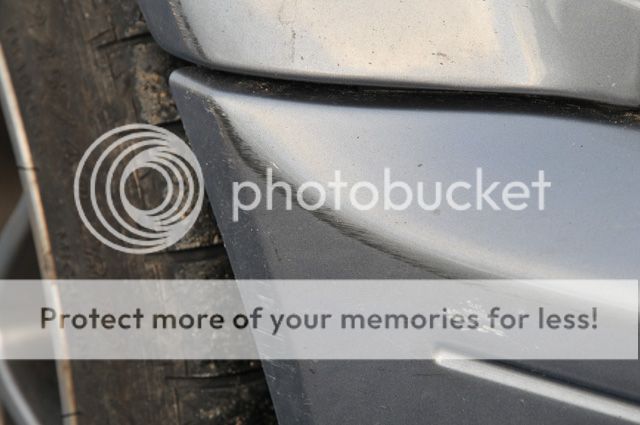


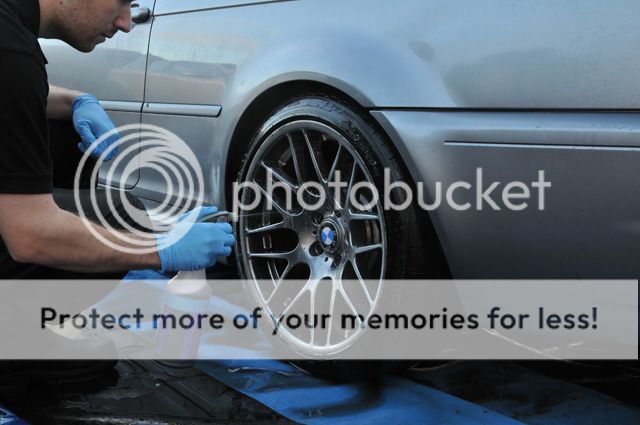
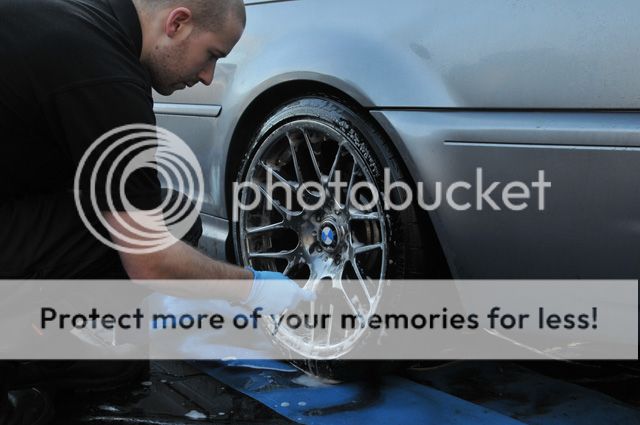
As always, I began rinsing the wheels and arches to remove the loose dirt/salt/grit etc:

The wheels are getting refurbished shortly and the owner wasn't too concerned with them so I gave them a quick going over with Meguiars Wheel Brightener:
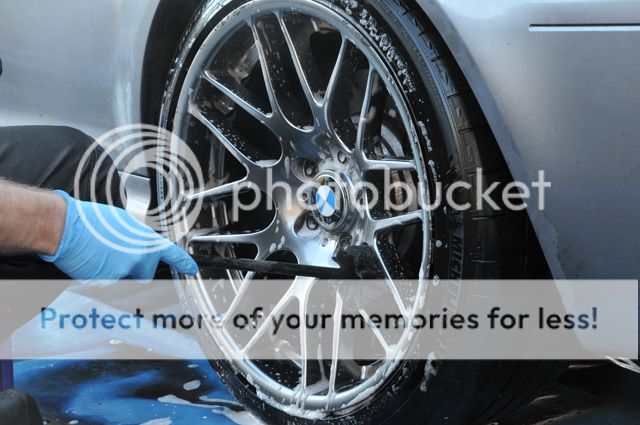
Using a Raceglaze Detailing Brush for the face:
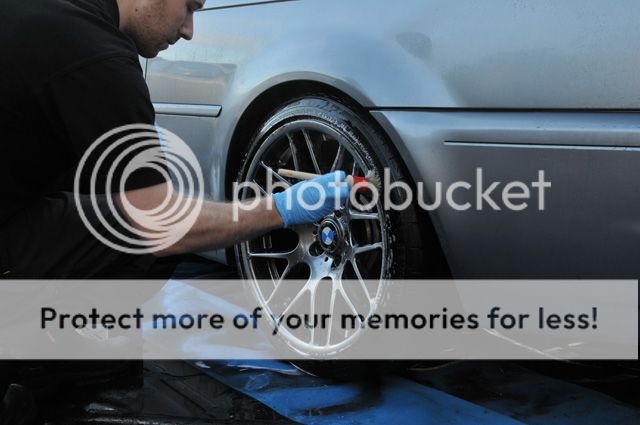
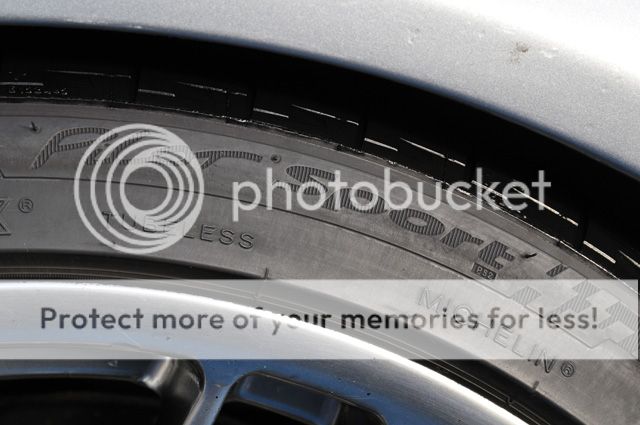
Wheel Woolies for the spokes and inner rim:
Then rinsed off:
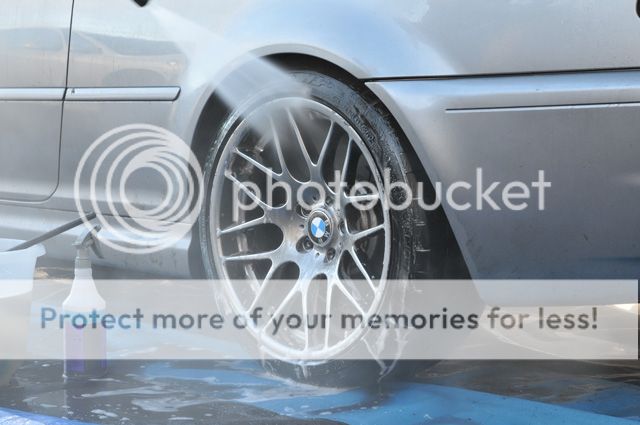
Meguiars Super Degreaser was then used to clean the tyres and arches:
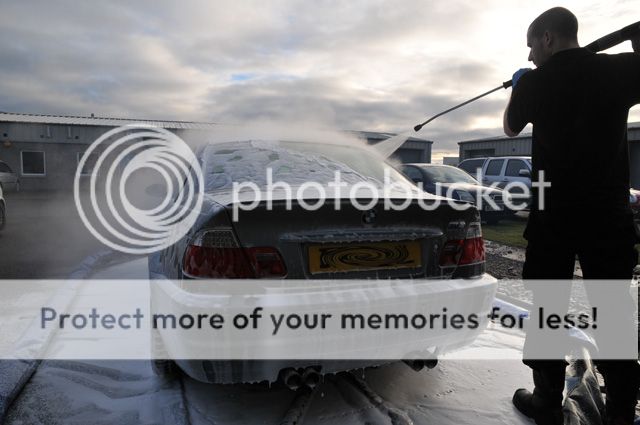
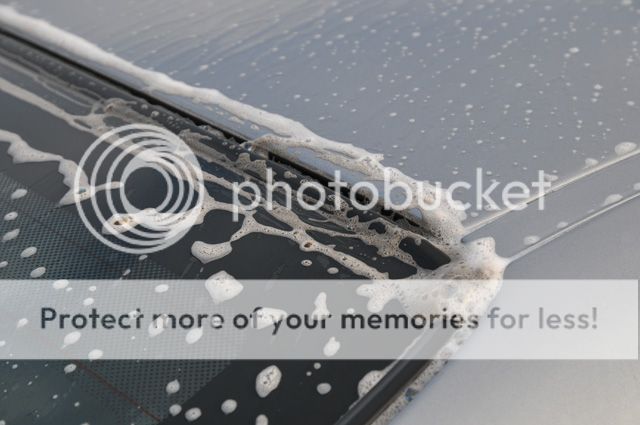
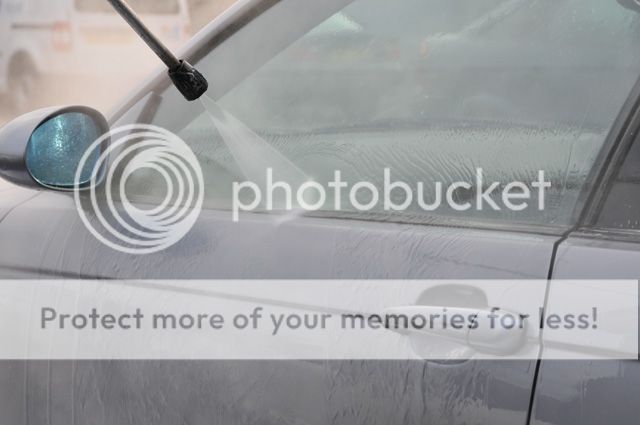
Meguiars All Purpose Cleaner was then used through the foam lance at a temperature of approx 60 degrees to foam the car:
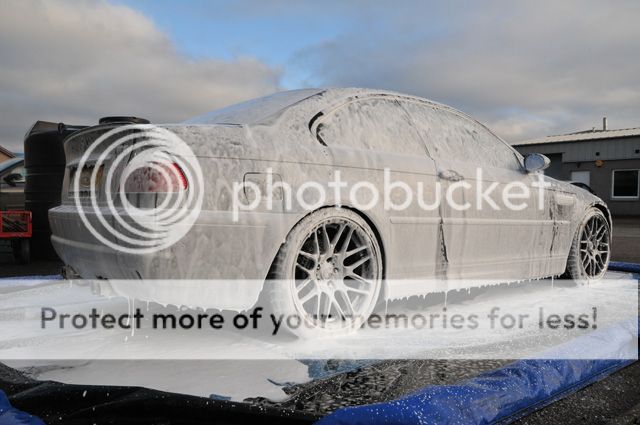
Rinsing thoroughly at high pressure a few minutes later:
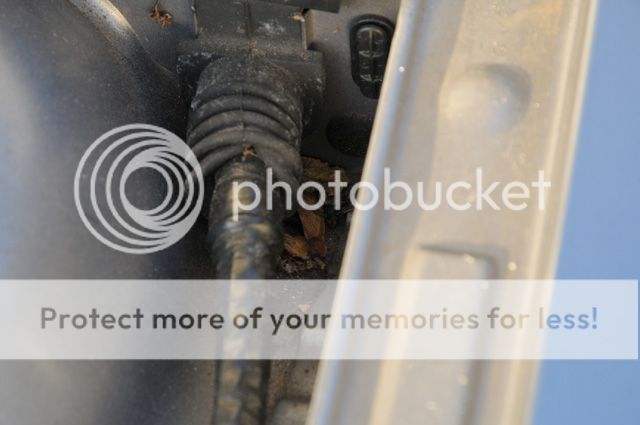
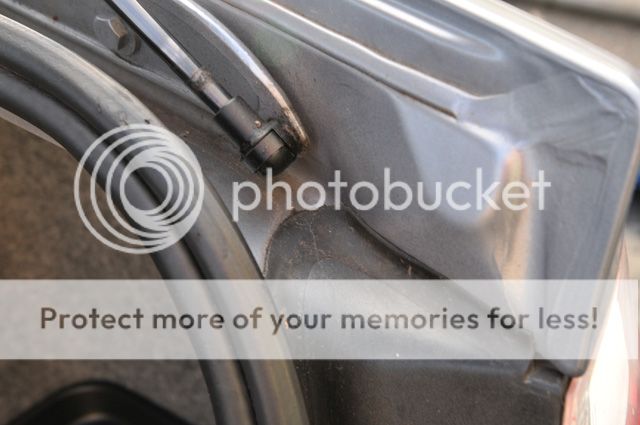
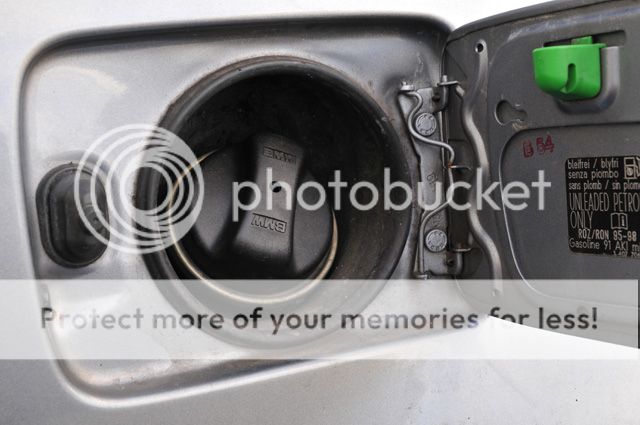
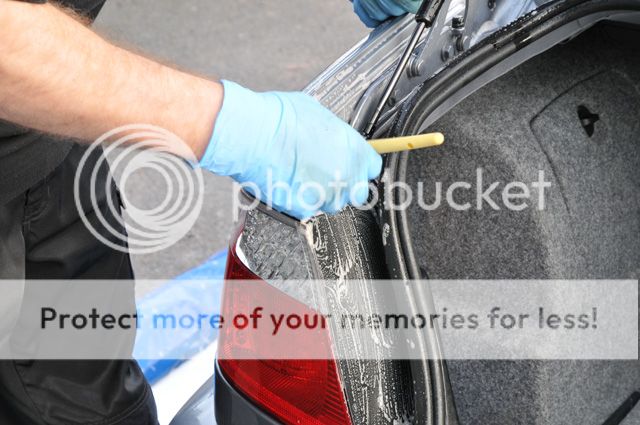
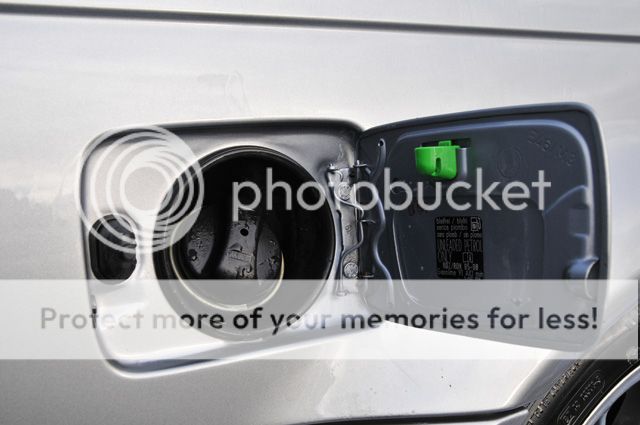
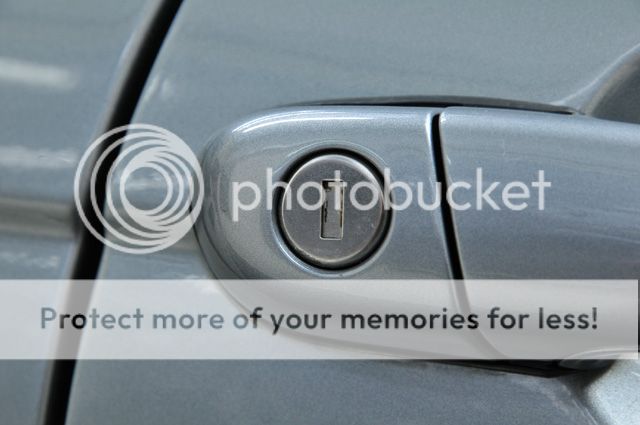
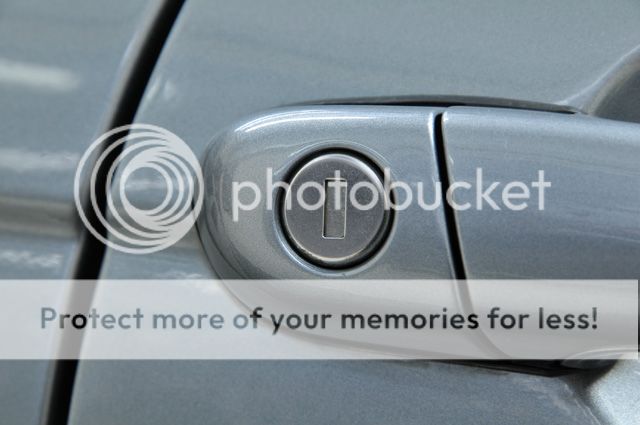
All Purpose Cleaner used again to clean all the exterior trim, door shuts, fuel cap etc:
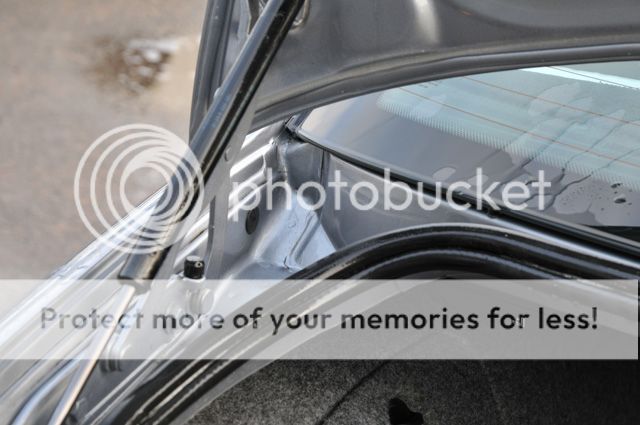

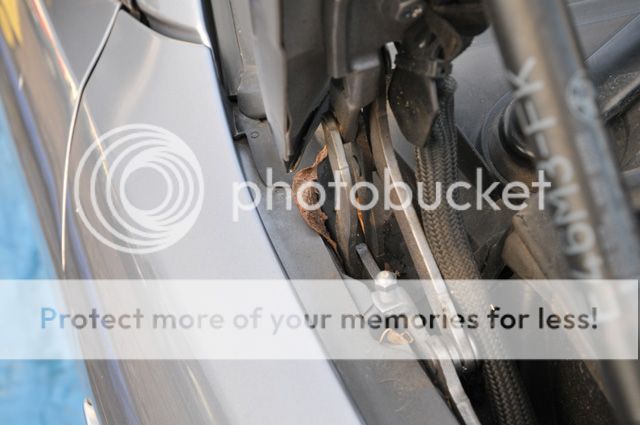
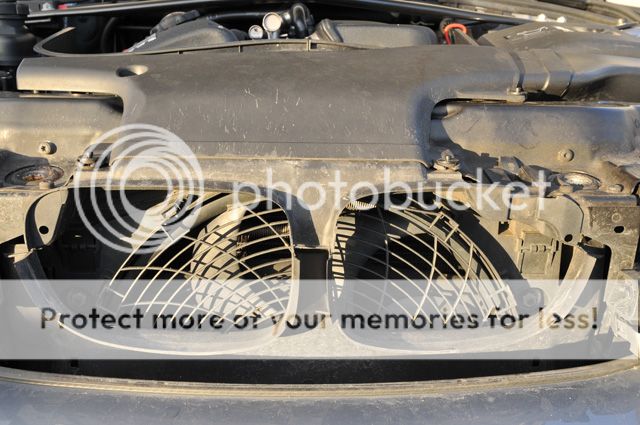
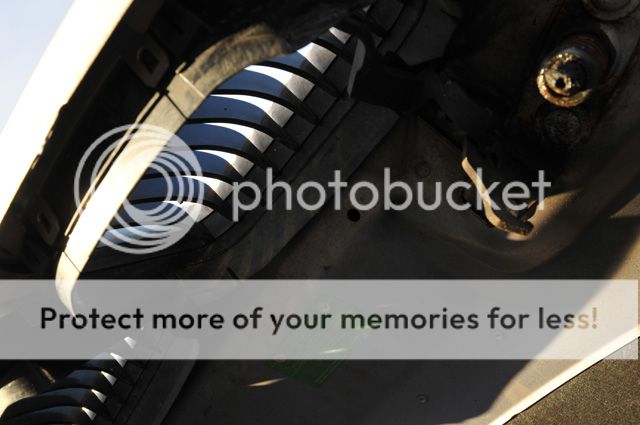
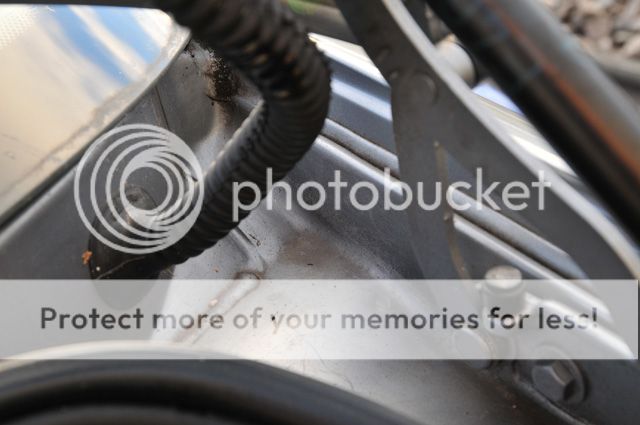
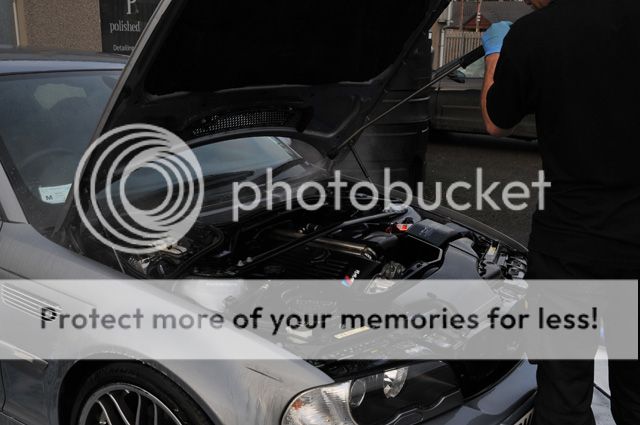
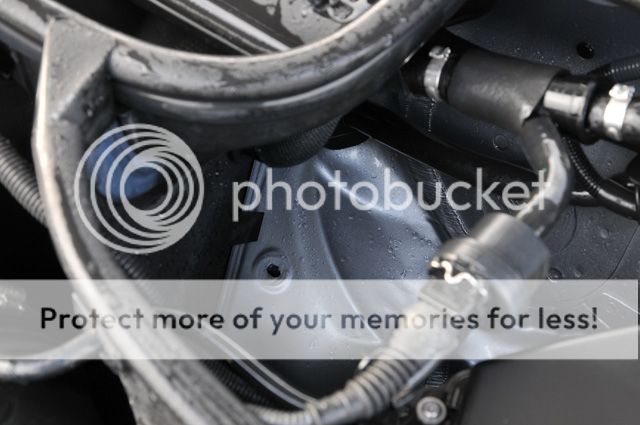
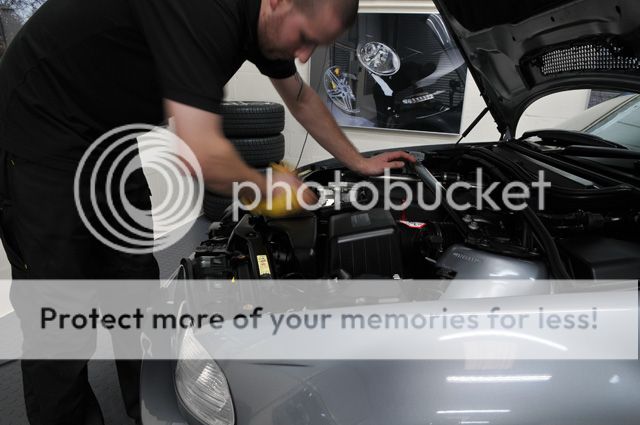
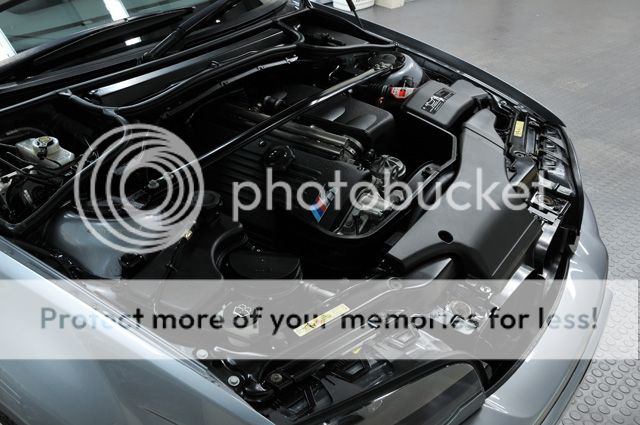
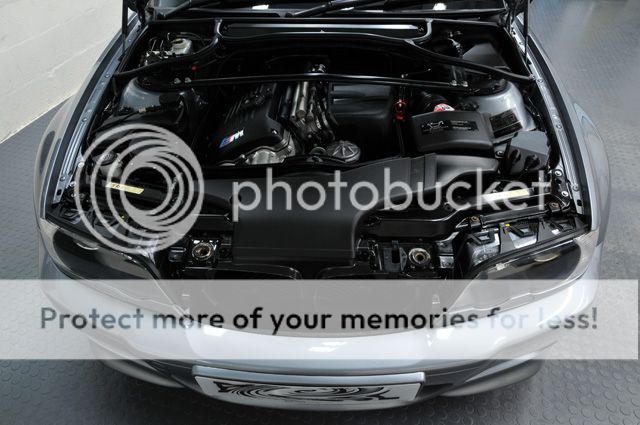
Onto the engine bay now and Super Degreaser was used again for this:
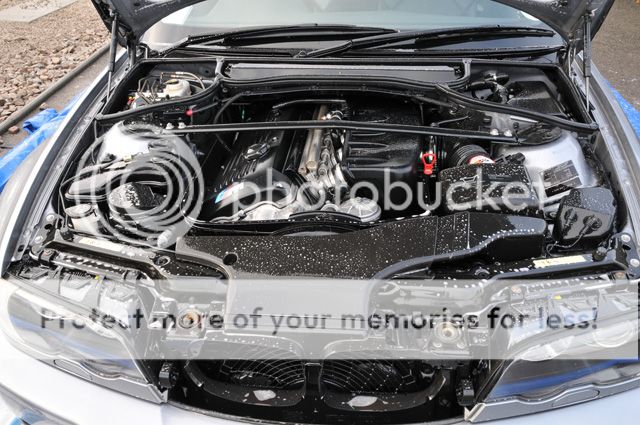
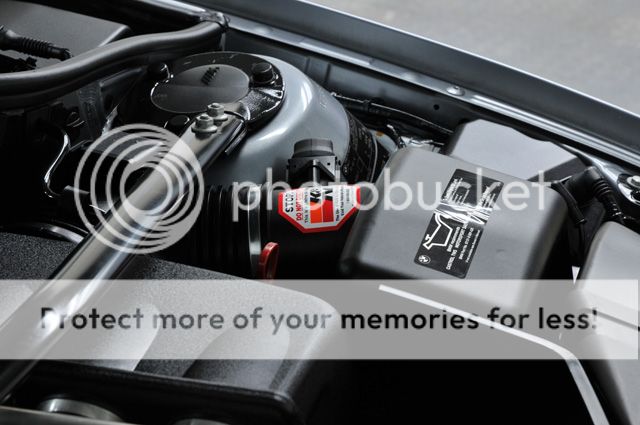
This was agitated for the worst areas and then pressure washed at medium pressure (60 degrees):
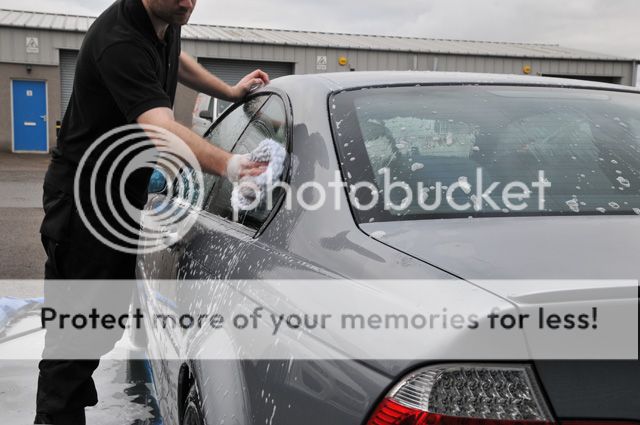
With just the paintwork and glass left to clean it was now time to wash the car using the 2 bucket method, Meguiars Shampoo Plus and a Swissvax Waschpudel:
This was then followed by Autosmart Tardis to remove any tar spots:
Iron-X followed to remove some light iron contamination:


After a good thorough rinse the car was put inside and clayed with Meguiars Mild Clay (no pics as next to no contamination came off) then dried with a mixture of a PB Luxury Drying Towel, Waffle Weave and then the Black Baron for all the panel gaps etc.
In order to prep the car for the application of the Nanolex I thoroughly wiped down the paint and glass with IPA:
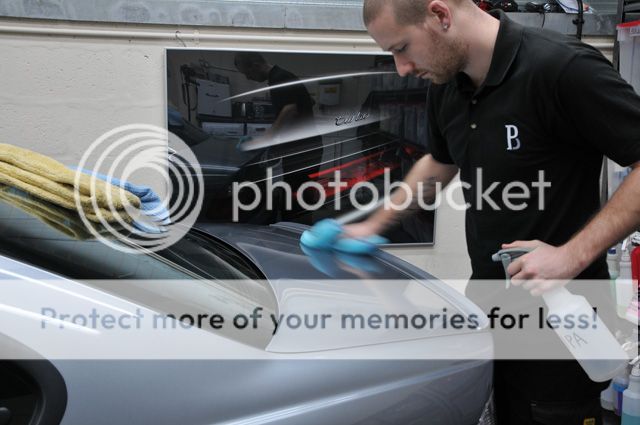
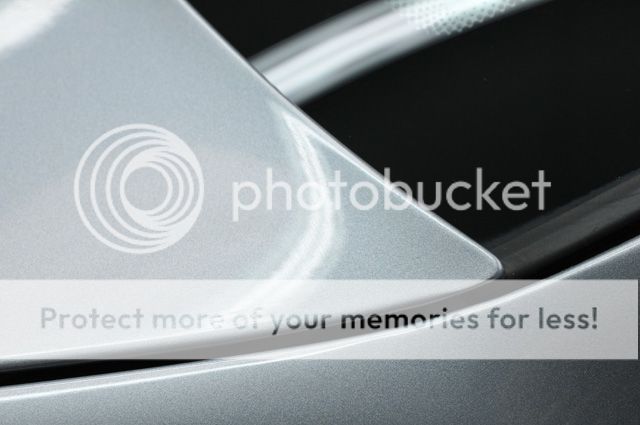
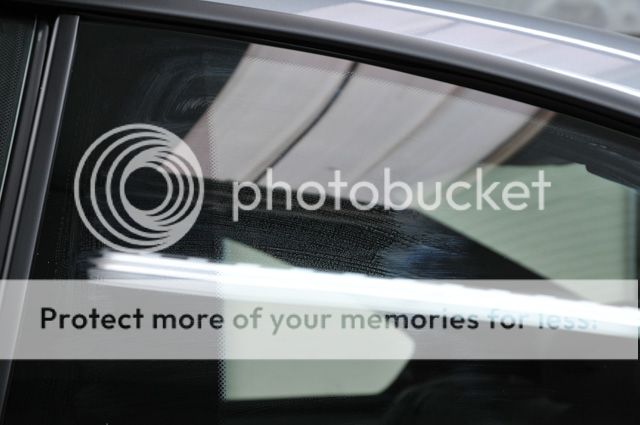
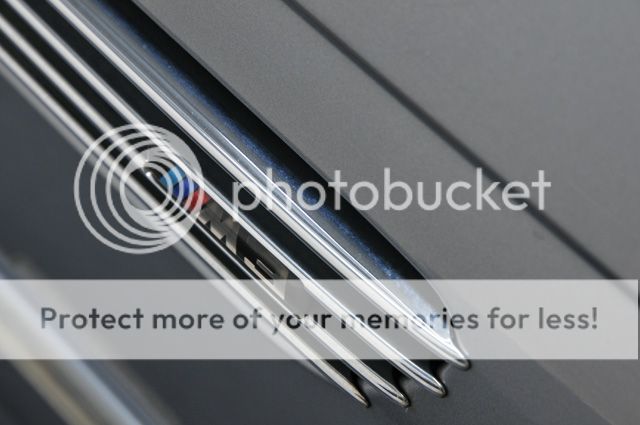
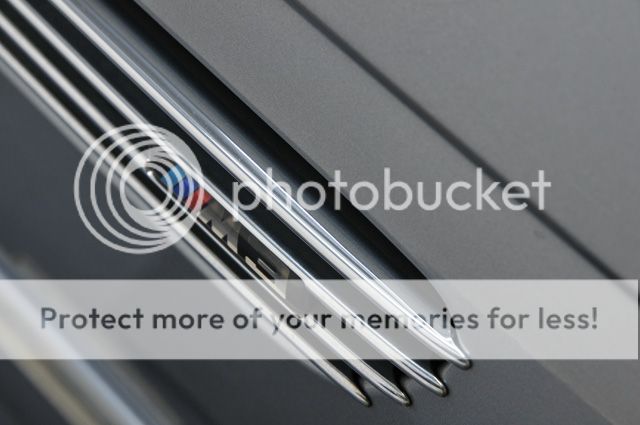
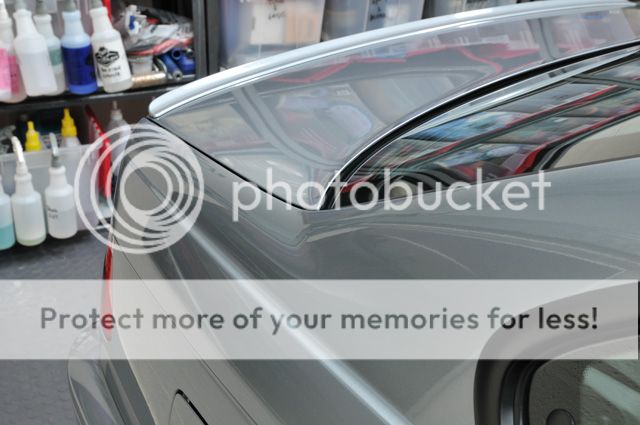
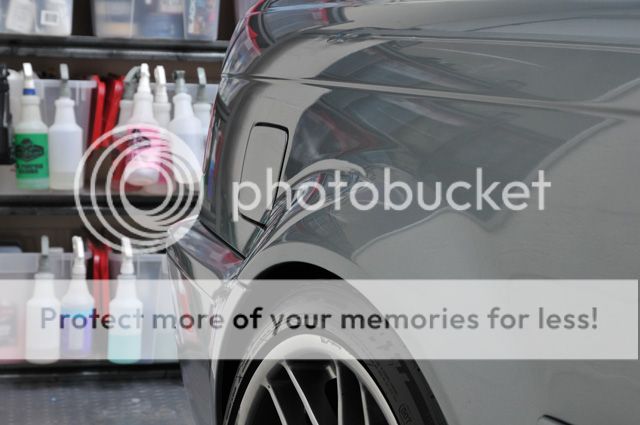
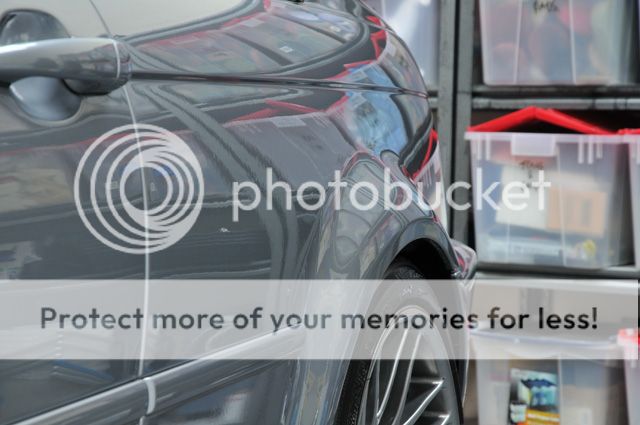
Nanolex Professional was then applied to the paintwork. When people say they find it hard to buff off sometimes then I find they've been applying it too thick - this is how thin you should be applying it (you can just see the residue if you look at the light strip reflection):
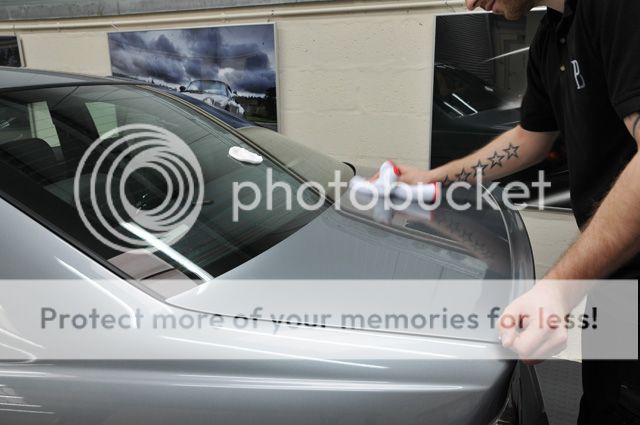
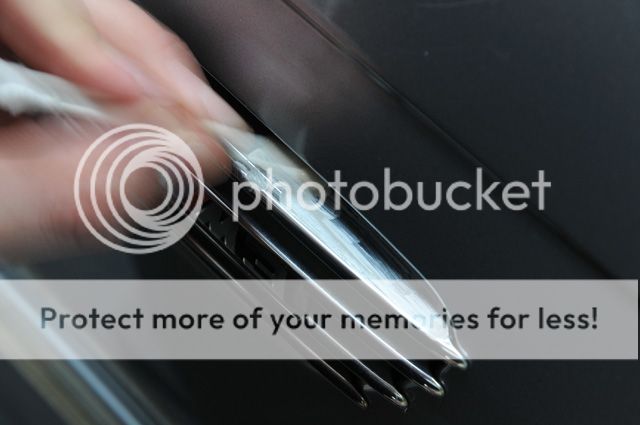
The sealant was applied to a panel at a time (although I've found it can be left much longer if you want) and buffed off:
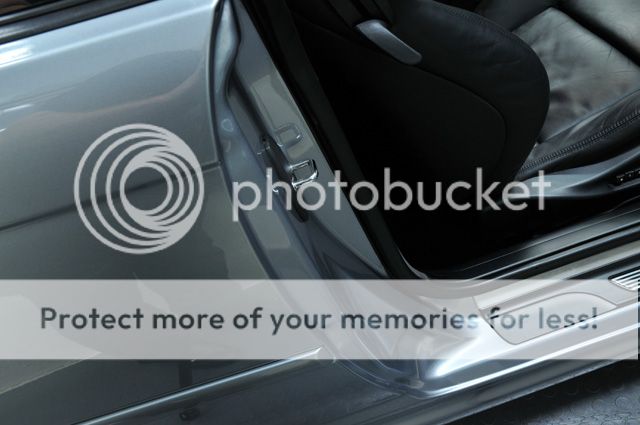
Door shuts were treated too:

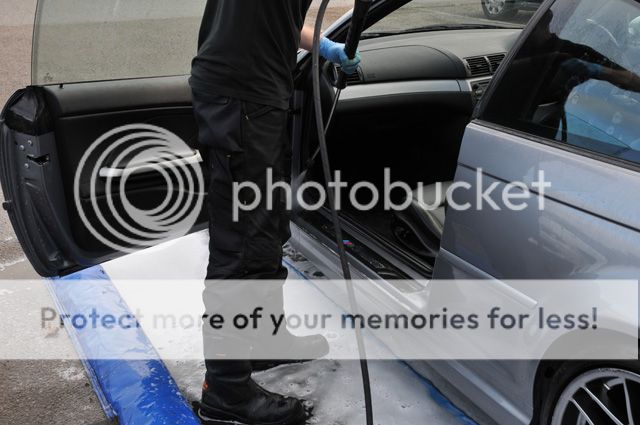
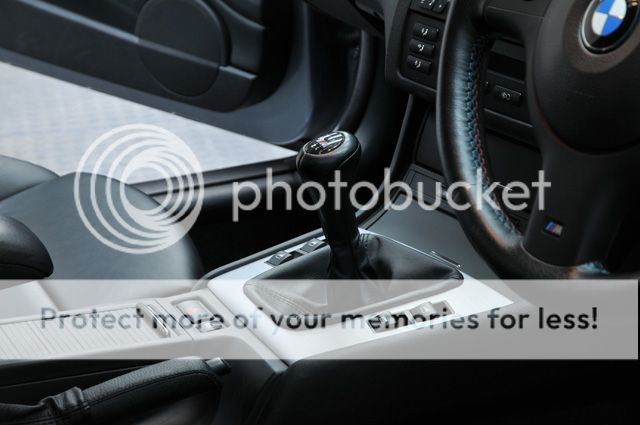
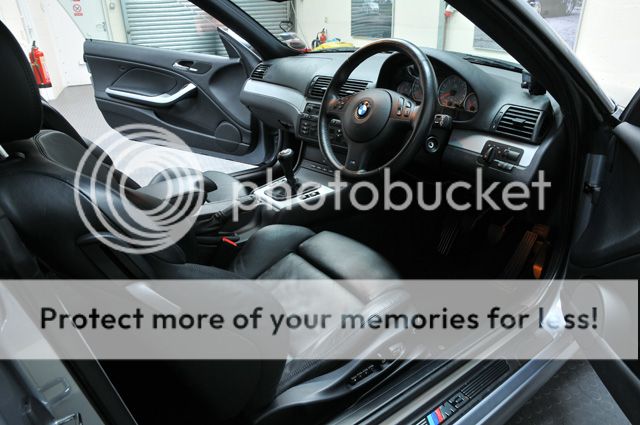
While I was doing this, Alan was working away on the interior:
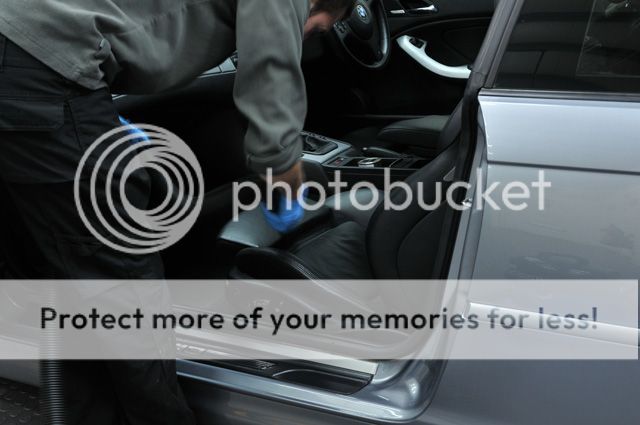

The leather was looking a bit shiny due to the ingrained dirt:

Swissvax Leather Cleaner was sprayed on and agitated with a Swissvax Leather Brush:

Dried off:

The leather now looking more natural with a satin finish:

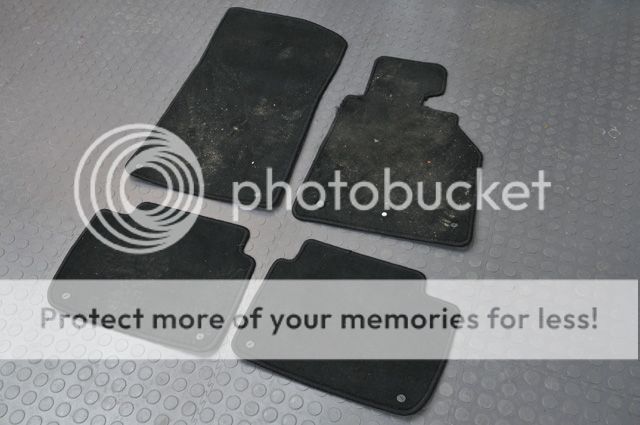
Mats cleaned:
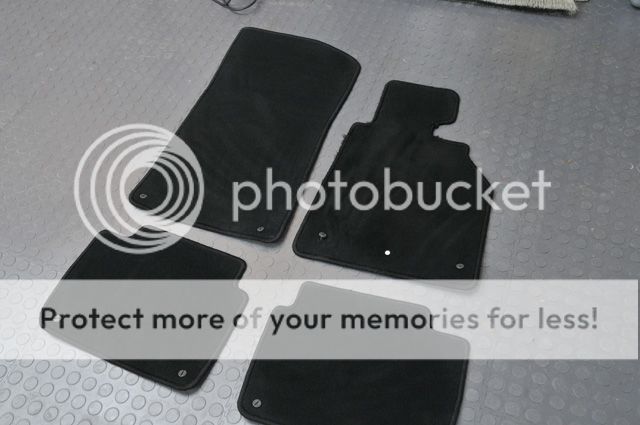
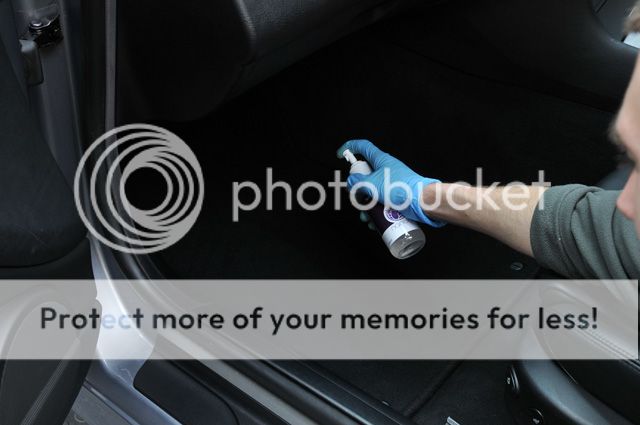
Then protected with Nanolex Textile Sealant:
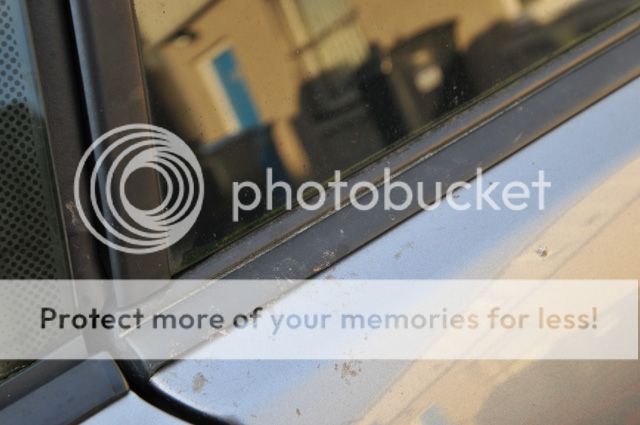
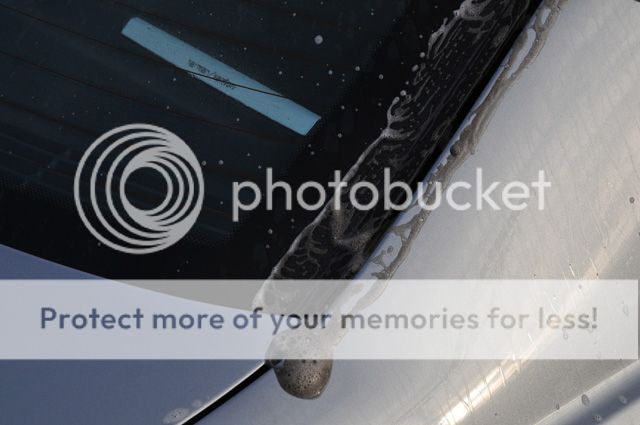
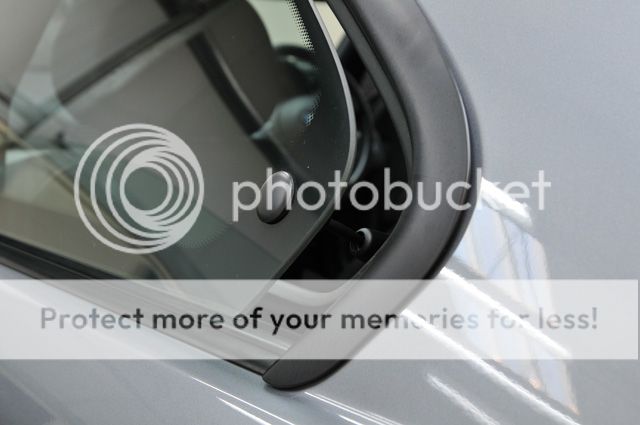
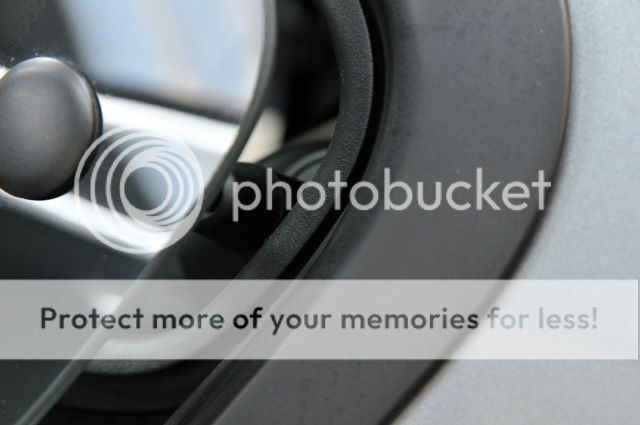
Back on the outside, I'd finished applying the paint sealant and had turned my attention to the rear 1/4 glass & rubbers:
Before:

After:
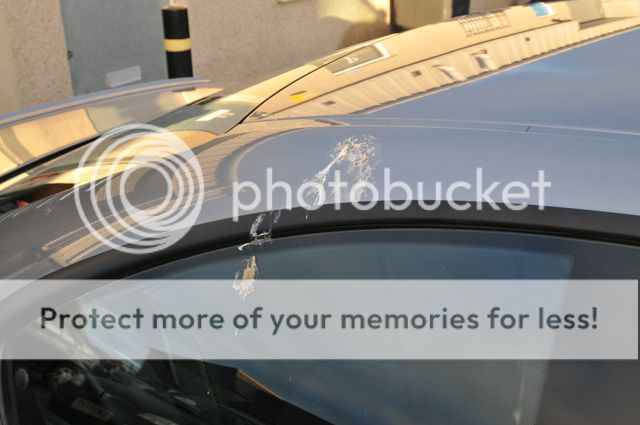
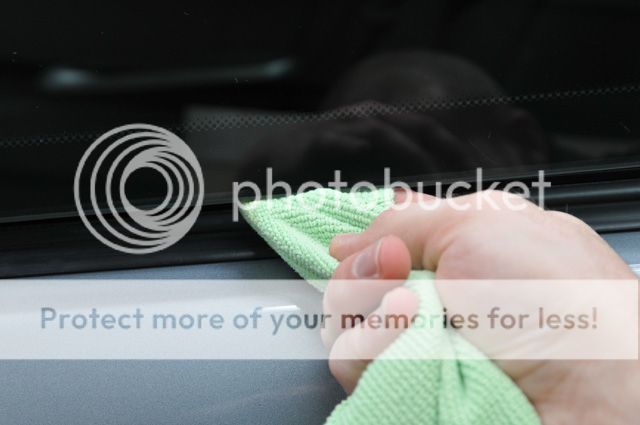
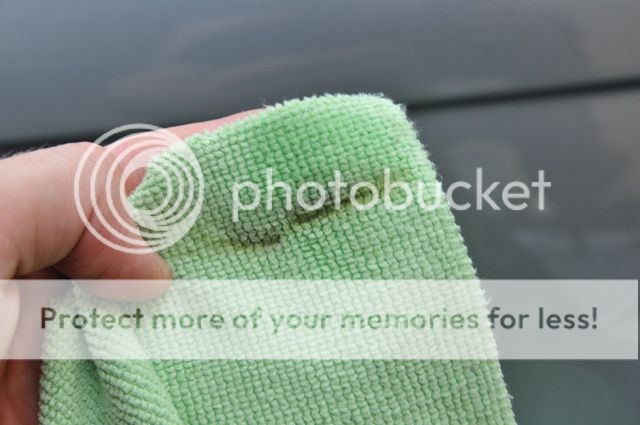
IPA was used with a work towel to remove the green residue from overhead trees etc:
Swissvax Seal Feed was then applied to all exterior and interior rubbers:
Before:
After:
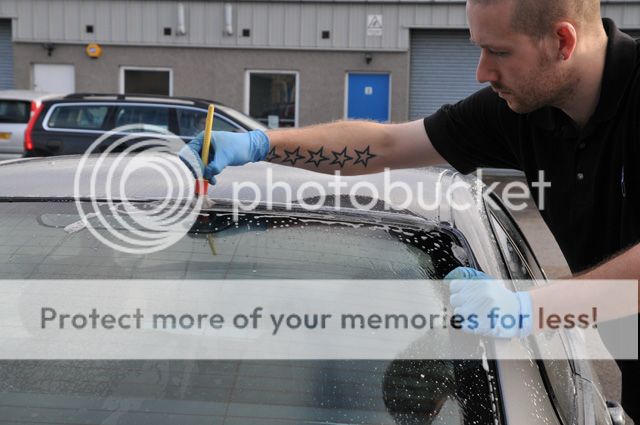
Nanolex Premium Glass Sealant was applied to all glass and then removed:
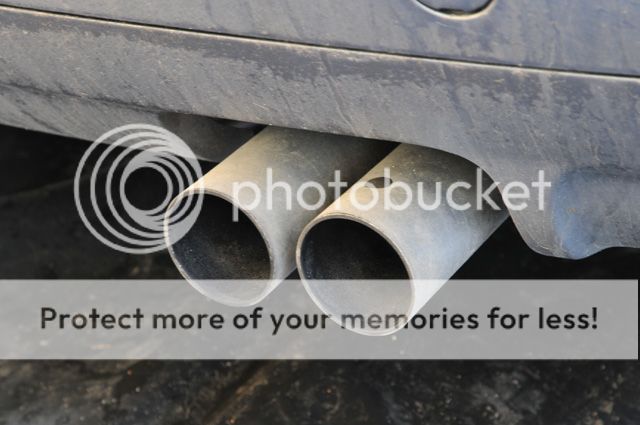
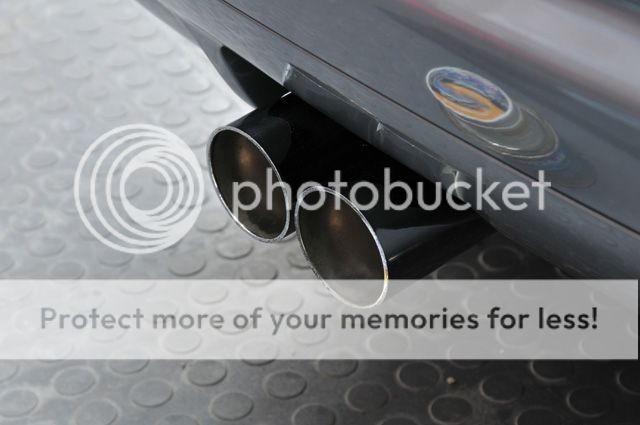
The tailpipes were quite badly pitted but came up pretty well.
Before:

After using Blackfire Heavy Cut Compound and Raceglaze Alutech:
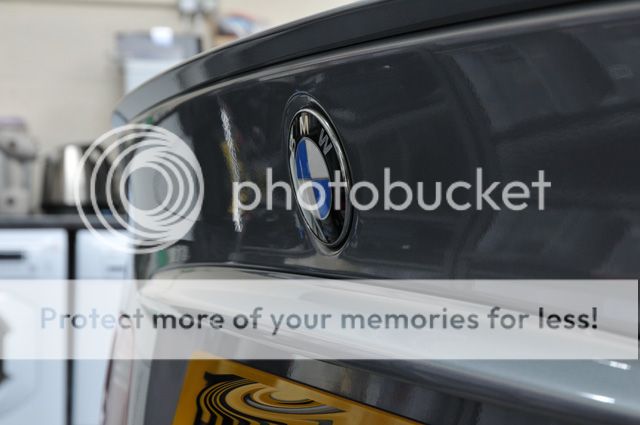
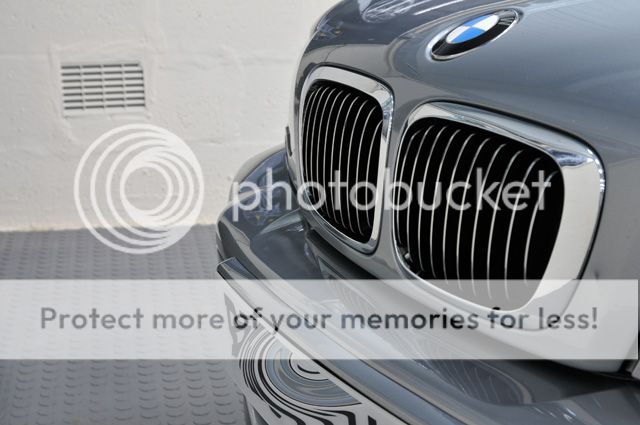
All the exterior chrome was cleaned up and protected with Werkstat Prime Strong:
Before:
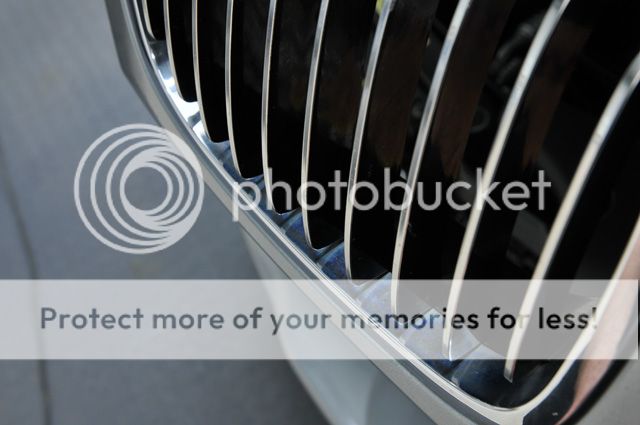
After:
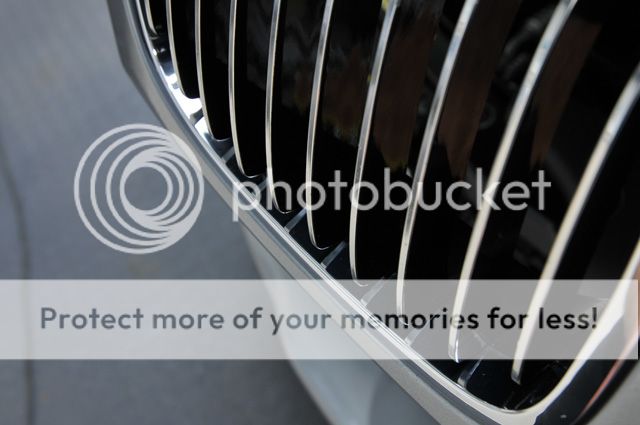
Before:
After:
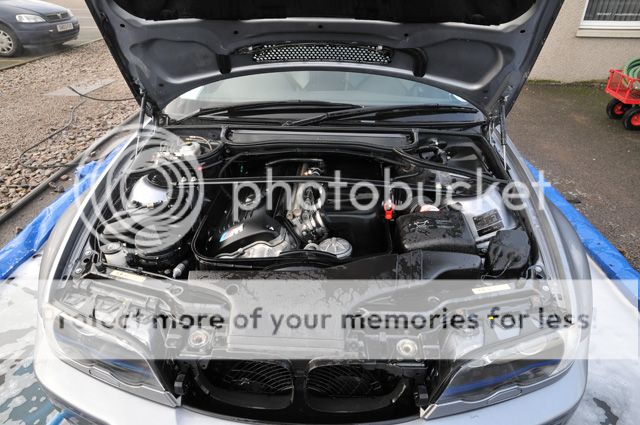
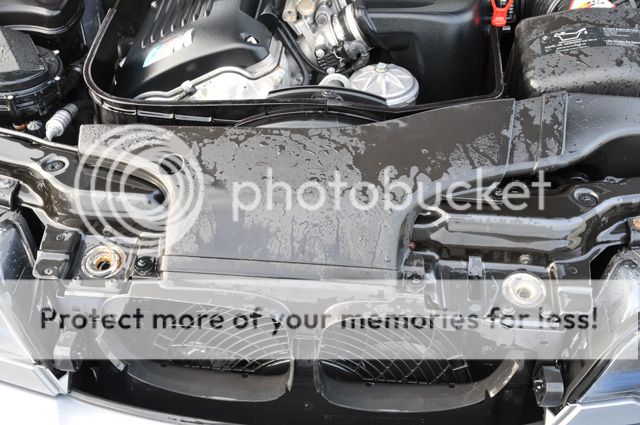
Last job was to wipe down the engine bay after it had been dressed with 303 Aerospace Protectant:
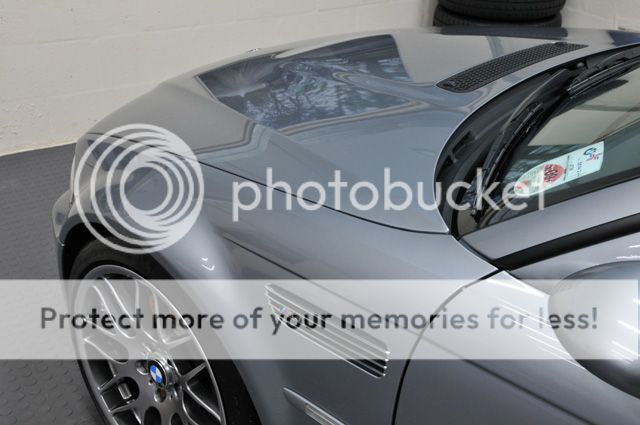
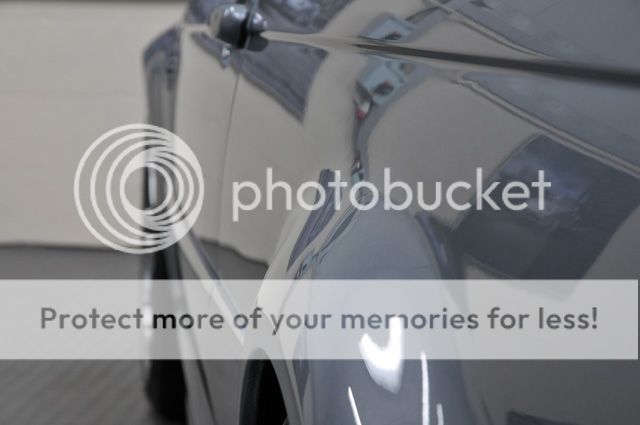
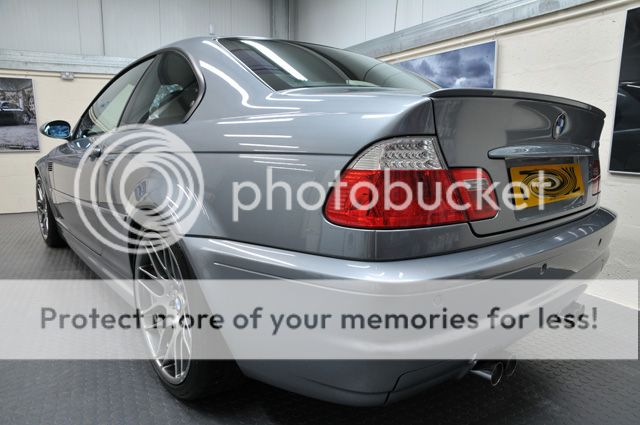
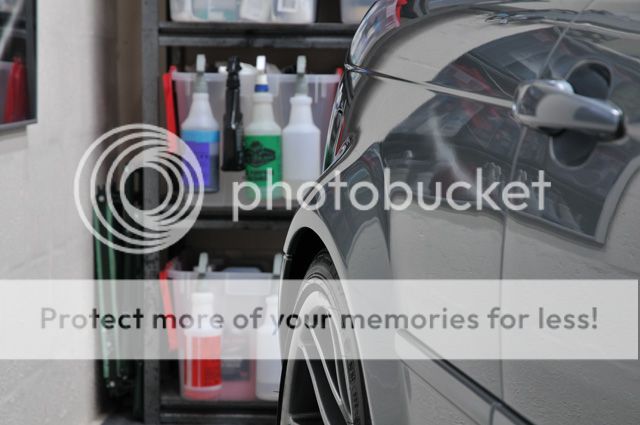
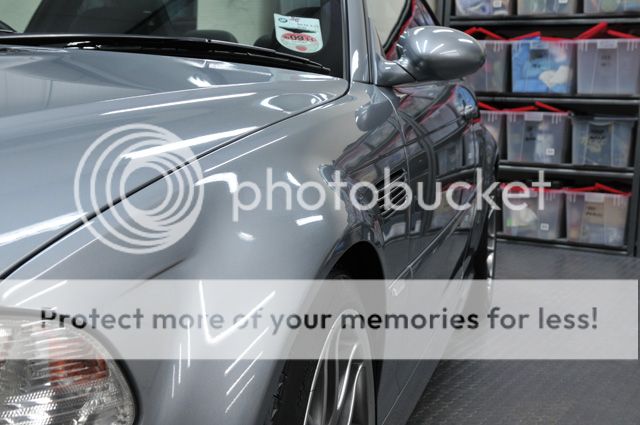
And here are the finished results...


Thanks for reading
Clark
By the owners own admission, the car had been neglected during the winter months and was looking a bit sorry for itself as a result:
Wheels in need of a refurb:
As always, I began rinsing the wheels and arches to remove the loose dirt/salt/grit etc:
The wheels are getting refurbished shortly and the owner wasn't too concerned with them so I gave them a quick going over with Meguiars Wheel Brightener:
Using a Raceglaze Detailing Brush for the face:
Wheel Woolies for the spokes and inner rim:
Then rinsed off:
Meguiars Super Degreaser was then used to clean the tyres and arches:
Meguiars All Purpose Cleaner was then used through the foam lance at a temperature of approx 60 degrees to foam the car:
Rinsing thoroughly at high pressure a few minutes later:
All Purpose Cleaner used again to clean all the exterior trim, door shuts, fuel cap etc:
Onto the engine bay now and Super Degreaser was used again for this:
This was agitated for the worst areas and then pressure washed at medium pressure (60 degrees):
With just the paintwork and glass left to clean it was now time to wash the car using the 2 bucket method, Meguiars Shampoo Plus and a Swissvax Waschpudel:
This was then followed by Autosmart Tardis to remove any tar spots:
Iron-X followed to remove some light iron contamination:
After a good thorough rinse the car was put inside and clayed with Meguiars Mild Clay (no pics as next to no contamination came off) then dried with a mixture of a PB Luxury Drying Towel, Waffle Weave and then the Black Baron for all the panel gaps etc.
In order to prep the car for the application of the Nanolex I thoroughly wiped down the paint and glass with IPA:
Nanolex Professional was then applied to the paintwork. When people say they find it hard to buff off sometimes then I find they've been applying it too thick - this is how thin you should be applying it (you can just see the residue if you look at the light strip reflection):
The sealant was applied to a panel at a time (although I've found it can be left much longer if you want) and buffed off:
Door shuts were treated too:
While I was doing this, Alan was working away on the interior:
The leather was looking a bit shiny due to the ingrained dirt:
Swissvax Leather Cleaner was sprayed on and agitated with a Swissvax Leather Brush:
Dried off:
The leather now looking more natural with a satin finish:
Mats cleaned:
Then protected with Nanolex Textile Sealant:
Back on the outside, I'd finished applying the paint sealant and had turned my attention to the rear 1/4 glass & rubbers:
Before:
After:
IPA was used with a work towel to remove the green residue from overhead trees etc:
Swissvax Seal Feed was then applied to all exterior and interior rubbers:
Before:
After:
Nanolex Premium Glass Sealant was applied to all glass and then removed:
The tailpipes were quite badly pitted but came up pretty well.
Before:
After using Blackfire Heavy Cut Compound and Raceglaze Alutech:
All the exterior chrome was cleaned up and protected with Werkstat Prime Strong:
Before:
After:
Before:
After:
Last job was to wipe down the engine bay after it had been dressed with 303 Aerospace Protectant:
And here are the finished results...
Thanks for reading
Clark
 31 January 2011, 03:55 PM
#3
Former Sponsor
Thread Starter
Join Date: Mar 2007
Location: Aberdeen
Posts: 181
Likes: 0
Received 0 Likes
on
0 Posts
Ok, here's an example for you:
Say the M3 was for sale and it was advertised in the condition it arrived at us in compared to how it looked when it left, do you not think you could easily add another Ł400 or Ł500 minimum to the asking price post detail? (keeping in mind that the above service we carried out on the car was Ł280 + VAT)
I know dozens of previous customers have done so and sold their cars to the first viewer (including an elise owner who made a grand over previous quoted price by the dealers once we'd detailed it)
Say the M3 was for sale and it was advertised in the condition it arrived at us in compared to how it looked when it left, do you not think you could easily add another Ł400 or Ł500 minimum to the asking price post detail? (keeping in mind that the above service we carried out on the car was Ł280 + VAT)
I know dozens of previous customers have done so and sold their cars to the first viewer (including an elise owner who made a grand over previous quoted price by the dealers once we'd detailed it
)
 ....i would love a m3 one day oh yes.
 01 February 2011, 08:18 AM
#5
Scooby Regular

Join Date: Dec 2005
Posts: 456
Likes: 0
Received 0 Likes
on
0 Posts
Cracking job Clark,and the before and after shots would definatly add Ł500 to the value,if not more,a nice looking M3.
Is the Nanolex better than Werkstatt,whats your thoughts ??
Is the Nanolex better than Werkstatt,whats your thoughts ??
01 February 2011, 08:24 AM
#6
Scooby Regular

Ok, here's an example for you:
Say the M3 was for sale and it was advertised in the condition it arrived at us in compared to how it looked when it left, do you not think you could easily add another Ł400 or Ł500 minimum to the asking price post detail? (keeping in mind that the above service we carried out on the car was Ł280 + VAT)
I know dozens of previous customers have done so and sold their cars to the first viewer (including an elise owner who made a grand over previous quoted price by the dealers once we'd detailed it)
Say the M3 was for sale and it was advertised in the condition it arrived at us in compared to how it looked when it left, do you not think you could easily add another Ł400 or Ł500 minimum to the asking price post detail? (keeping in mind that the above service we carried out on the car was Ł280 + VAT)
I know dozens of previous customers have done so and sold their cars to the first viewer (including an elise owner who made a grand over previous quoted price by the dealers once we'd detailed it
)for Ł350 seems well worth it considering the result

Trending Topics
 How do you protect the electrics in the engine bay when you pressure wash them?
 08 February 2011, 03:27 PM
#9
Former Sponsor

Join Date: Oct 2010
Posts: 129
Likes: 0
Received 0 Likes
on
0 Posts
If you work with care, avoiding intakes and exposed electrical connectors you should have nothing to worry about. Check for exposed connections and wrap them, ideally in tin foil to protect them from water. Pressure washers don't use a great deal of water but will drive what water there is in connectors under a lot of pressure.
Most modern engines are pretty well protected anyway.
If in doubt, steer clear or wrap areas up. We always work on a cold engine and start it up after washing.

 10 February 2011, 09:50 PM
#11
Scooby Regular
10 February 2011, 10:12 PM
#13
Scooby Regular
Thats what I have been using after Chris from these very forums very kindly sent me some to try. It is fantastic but the nanolex looks good as well. "only having to clean the car on a semi regular basis" due to "self cleaning" and only needing to apply every 2years sounds almost too good to be true.
11 February 2011, 09:42 AM
#14
Former Sponsor
Join Date: Oct 2010
Posts: 129
Likes: 0
Received 0 Likes
on
0 Posts
Very different: Nanolex Professional (which was used here) has to be applied in quite a specific fashion, applied and buffed quickly and carefully and allowed to cure for 12hours, indoors, with a temperature of between 15 and 30 degress centigrade.
Werkstat is probably the easiest system on the market to use, isn't fussy about temperature etc.
Nanolex is incredibly durable and leaves, as you can see here, a great finish. Werkstat isn't as durable but is easier to apply and you're obviously also familiar with the results it offers.
It's a tough choice: if you don't have a warm garage (or a garage in the summer), Werkstat will be better, if you don't have a warm work area.
28 November 2011, 11:08 PM
#15
Scooby Regular
How about Nanolex premium for ease of application and performance? I get the impression its somewhere in the middle of Werkstatt and the Nanolex professional. Would that be about right?
 That interior was like a pigsty
  Great job anyway

Thread
Thread Starter
Forum
Replies
Last Post