Installing a flock dash.
 12 September 2010, 09:47 PM
#1
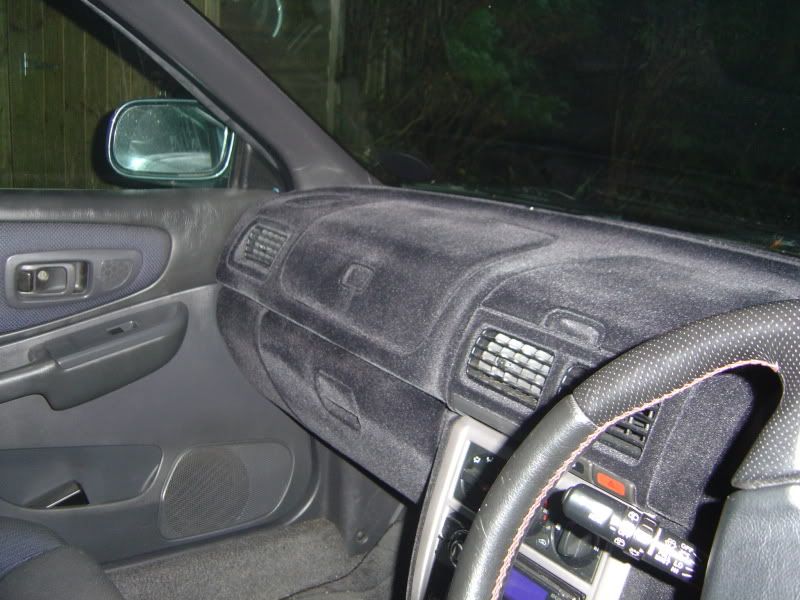
What you’ll need for a JDM Facelift Dash with a cubby instead of an airbag.
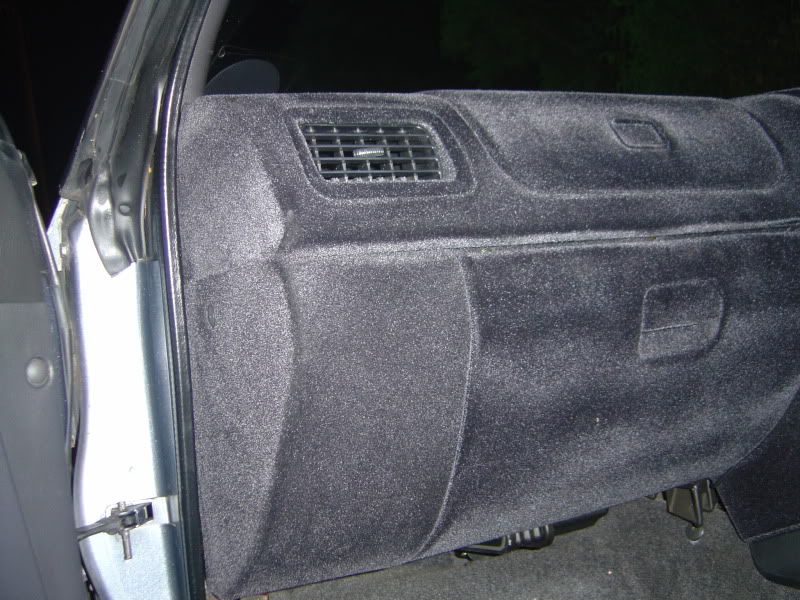
A flocked dash funnily enough!
Ratchet
Extension
10 mm socket
12 mm socket
Phillips screwdriver
Plastic palate knife
2.2 ohm resistor from Maplin – cost a massive 21p!
Patience, sense of humour, someone to make tea and help you remove the dash top.
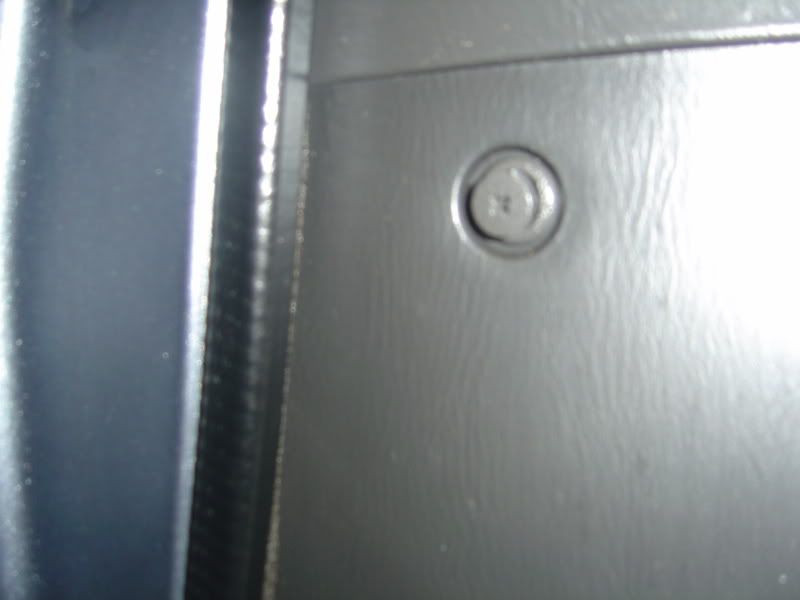
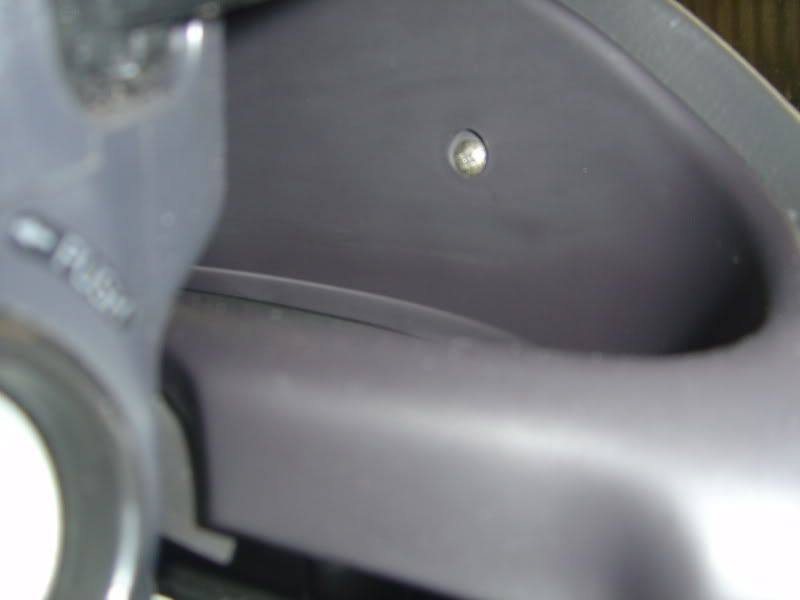
I started on the right and removed the lower cowl under the steering column. It’s not too difficult and it’s only held in by two self tappers and an expanding sleeve insert. Use the palate knife to prise out the switches and blanks that may be fitted.
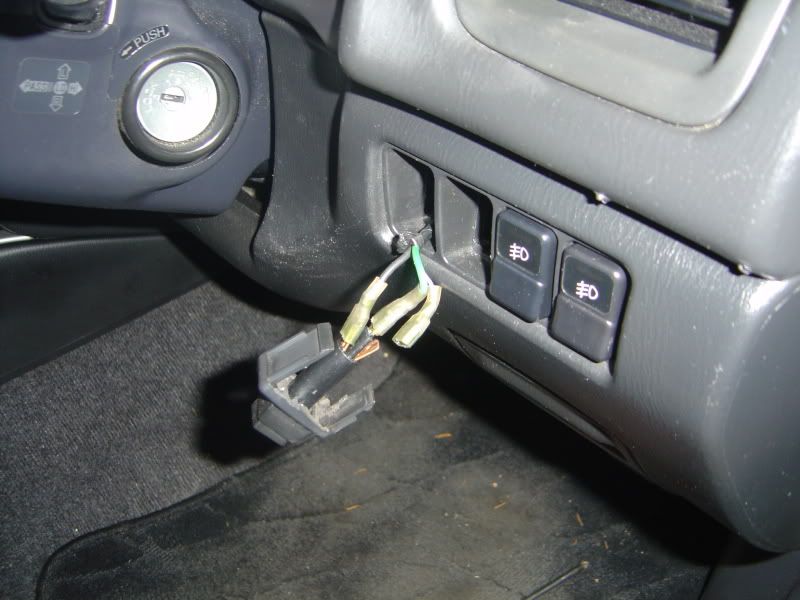
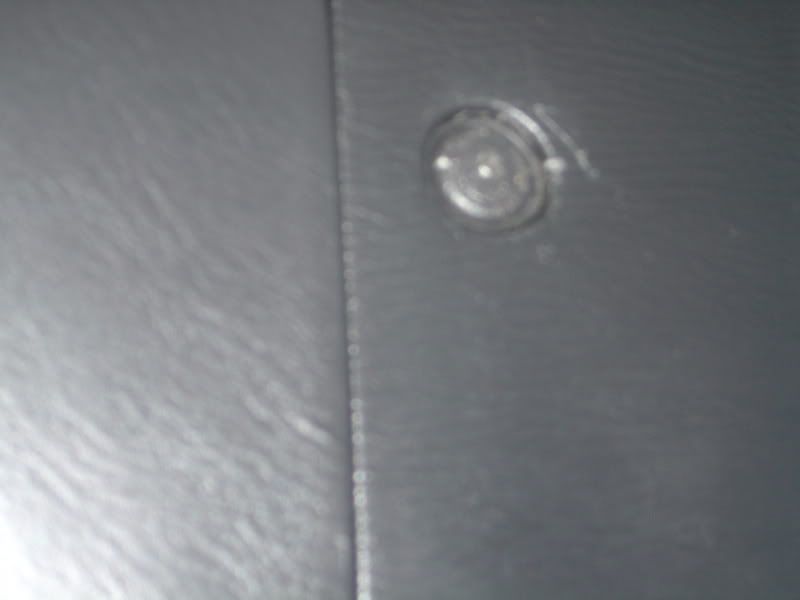
The screws are located just above the bonnet release and to the left hand side of the cowl., my left hand one was a push in jobby (looks like a grey button in the picture) but I replaced it later with a screw. I am upside down by now!
The sleeve insert is on the end of the lower cowl. Unscrew it and the head pops out. It should then come out.
The cowl is held in place by some push in locators. Use the palate knife between the upper dash and cowl and lever it off. It should pull of easily. The ISO Plug for the ECU can be disconnect from the cowl by pushing in the plastic sides. The cowl should now be off.
Next the glove box.
Again, there is a sleeve insert and five self tappers holding the box in.
Open the glove box and there are three inside, at the top left and right of the open glove box and a sneaky one just below the catch for the glove box inside.
The other two are in similar locations to the steering column cowl bottom left and bottom right with the box closed.
With a bit of pulling the box will come off as it’s on some lugs.
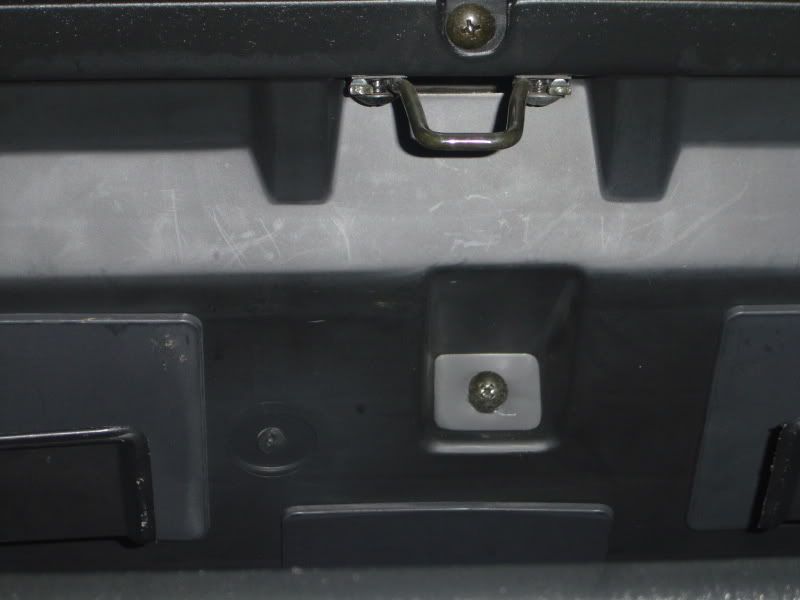
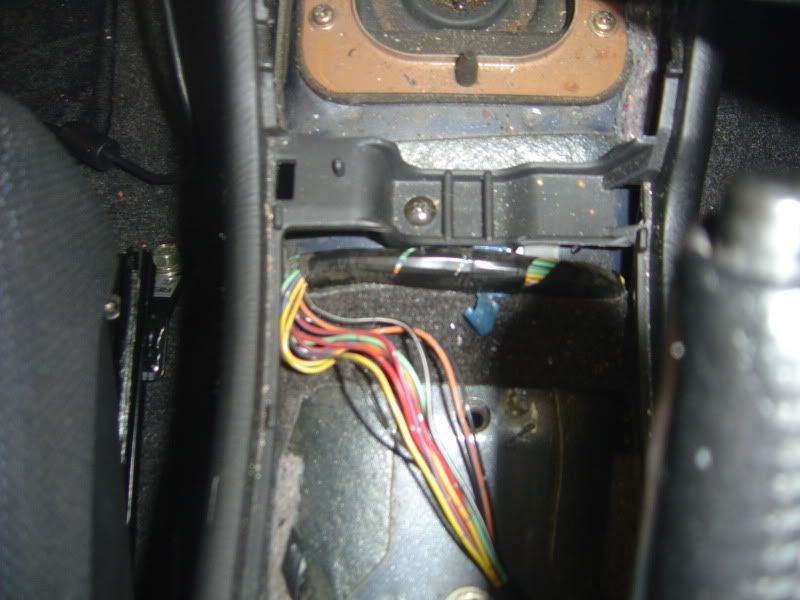
Now the centre consul box. Lift the lid of the rear cubby and you’ll find two plastic caps covering the screws that hold the hand brake surround in place. Pop these off and take out the screws.
The surround should just pull off. Disconnect the mirror the electric plug and remove. Now pop off the hand brake surround.

Remove the gear **** and lift the gear surround off. You should be able to prise it up.
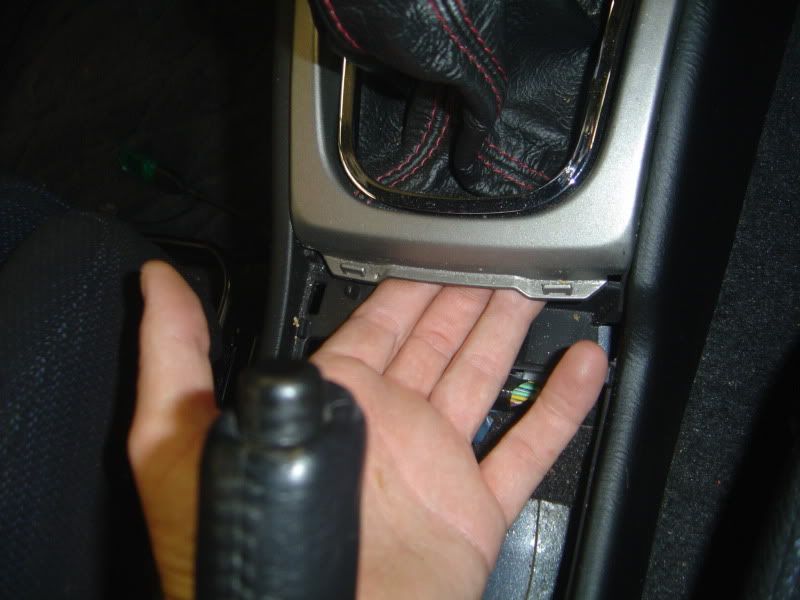
There are two screws in the bottom of the rear cubby to remove.
One just behind the gear stick and two below the stereo surround.
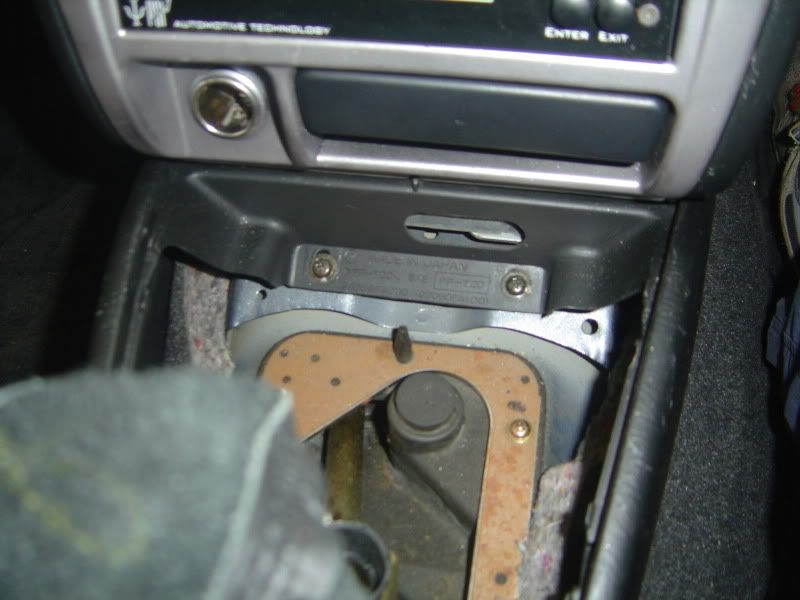
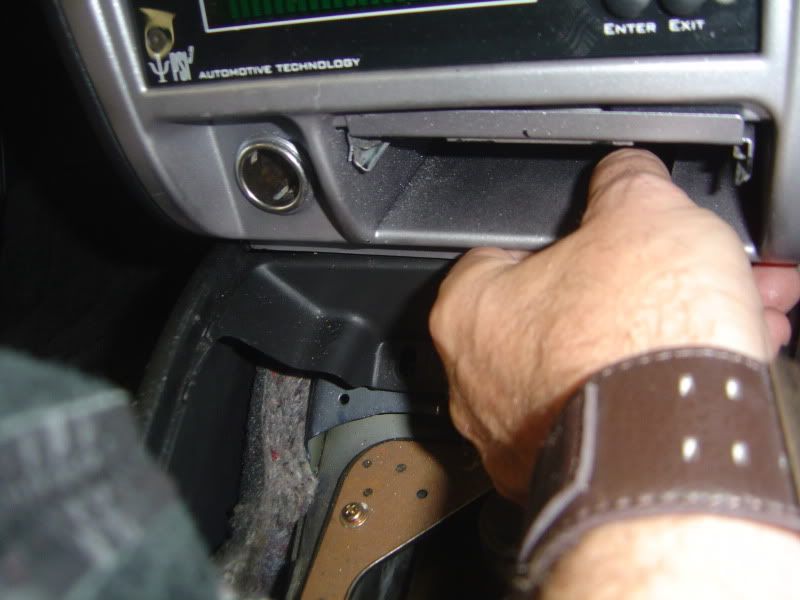
The consul pull up and over the handbrake and gear stick.
The stereo surround can be pulled and prised off using palate knife, put your hand in the ashtray hole and use the knife along the edges from the bottom to the top, there are a few plastic lugs along the side and two at the top and the connections for the lighter and ashtray light.
Once it’s off remove the stereo cage and any other bits you may have fitted like gauges, PSI unit or cubby box.
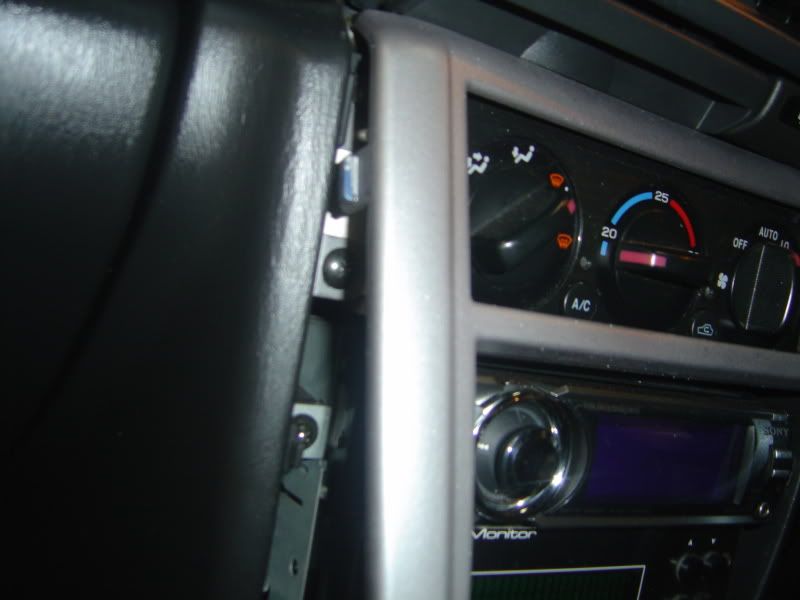
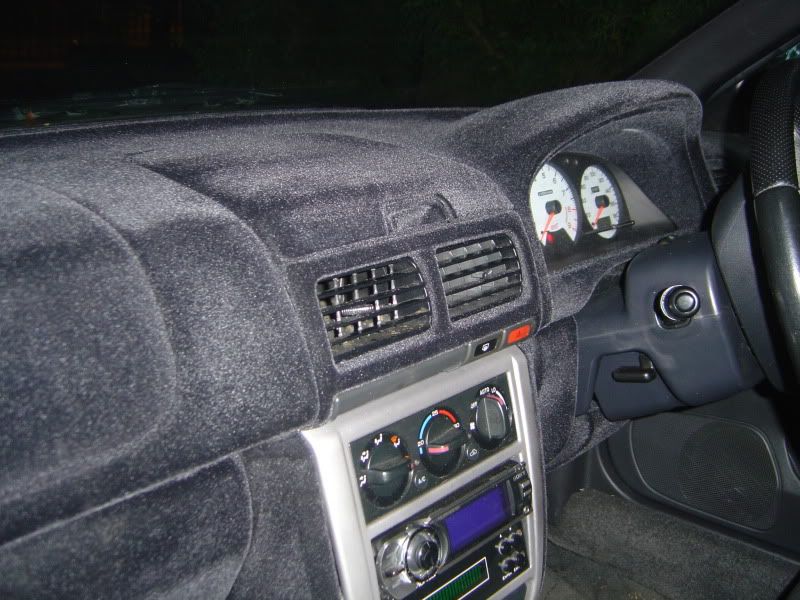
You can leave the heater controls in for now. Next remove the cupholder, rear demister and 4 way switch. These can be push out from behind with your fingers and disconnected. There are two screws holding the cup holder, open it and there is one on each side. Again with a bit of persuasion it should pop out.
You can now take out the centre piece. It’s held in by five screws, one each on the top right and left. Two more are inside on the rails for the stereo cage and a sneaky one inside the top middle. It should now pull out. Disconnect the heater plugs as you take it out.
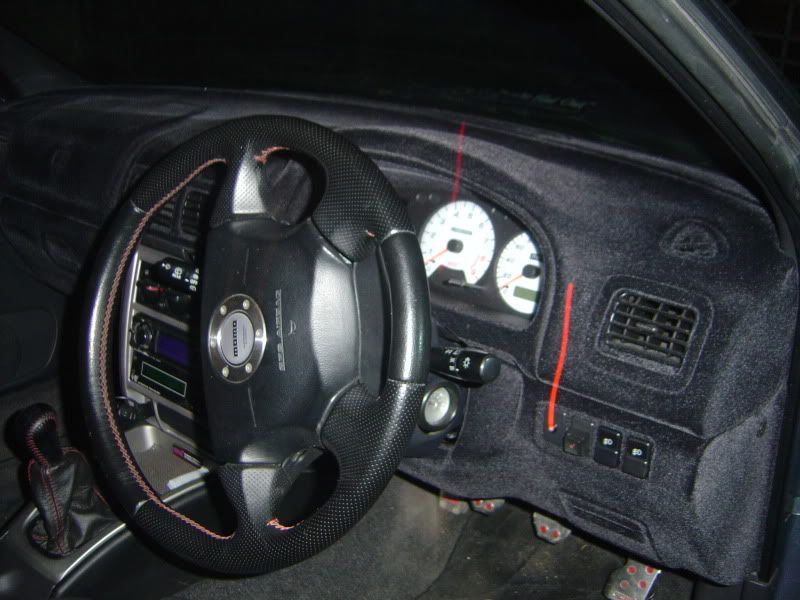
The cowl around the clocks is next. It’s held in place by two screws in the top. Once these are out the cowl should pull straight off.
You should notice that behind the little slits on the left of the cowl is the air con sensor next to the locating hole.
The clocks are then held by three screws. One top centre and one on either side at the bottom.
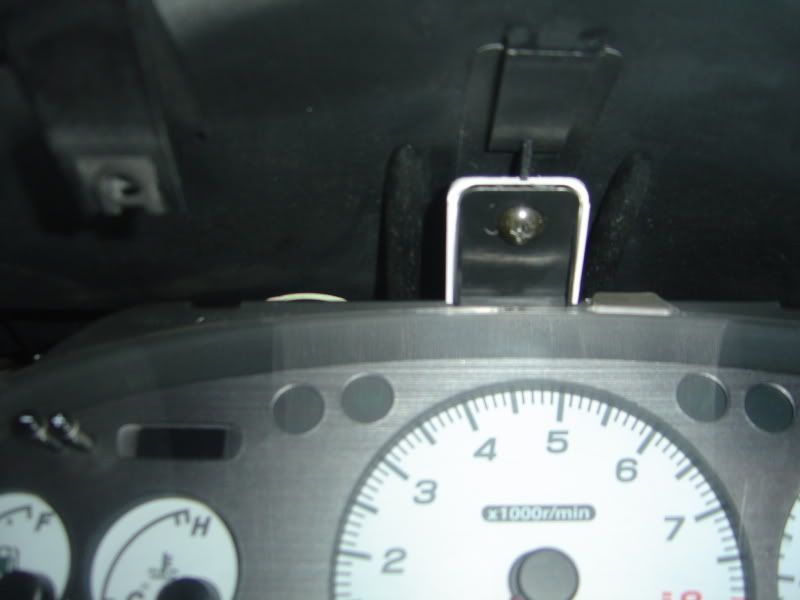
Take them out and ease the clocks forward. There are three connecters on the back. Ease these off. They are the squeeze type. You can now rotate the clocks around the steering wheel.
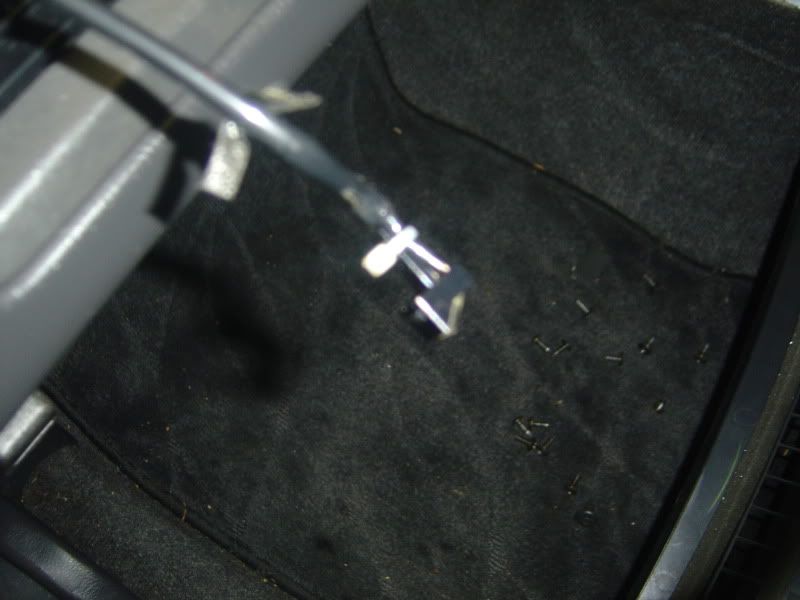
Looks whats on the carpet!
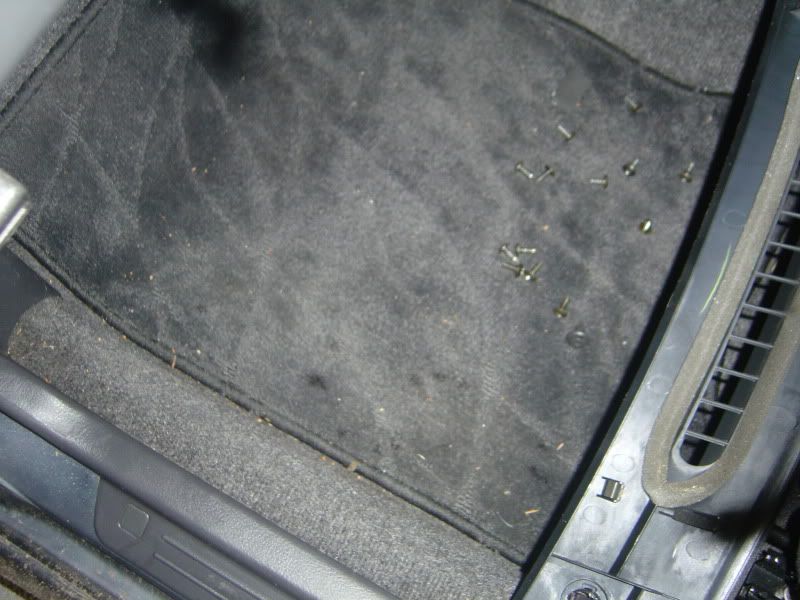
Screws!
Now the easy bit, the dash top section itself. Use a palate knife to prise up the right hand corner of the front panel.
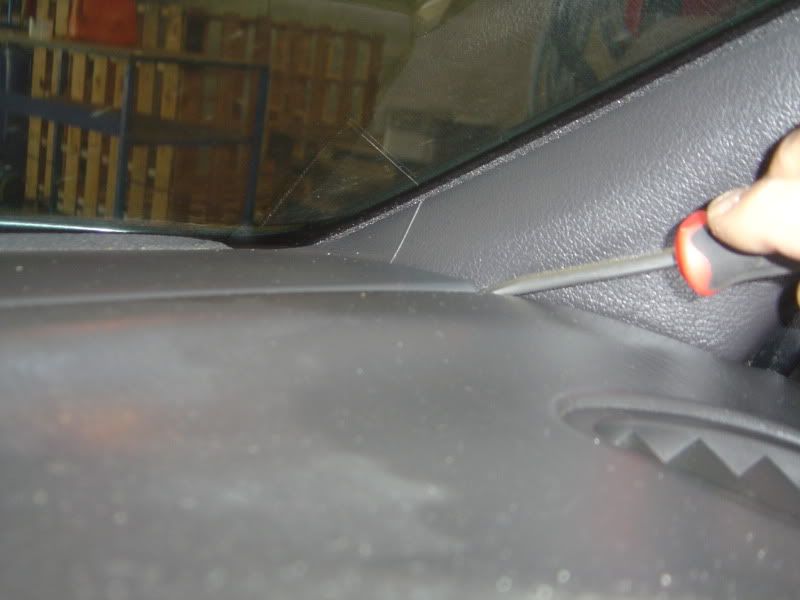
Ease it up and then run the palate knife along the back edge to the left hand side.
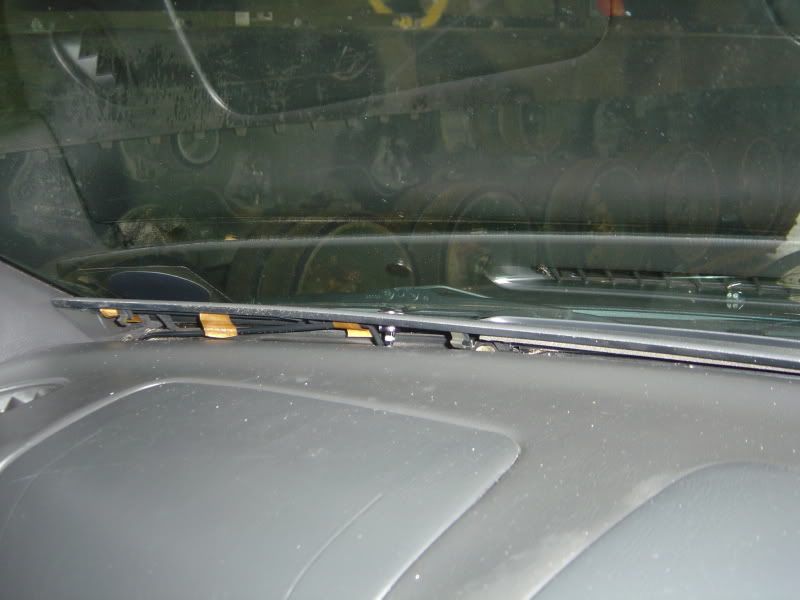
Be careful with the aircon sensor on the left. Pop it up and it they pull out of the plastic holder.

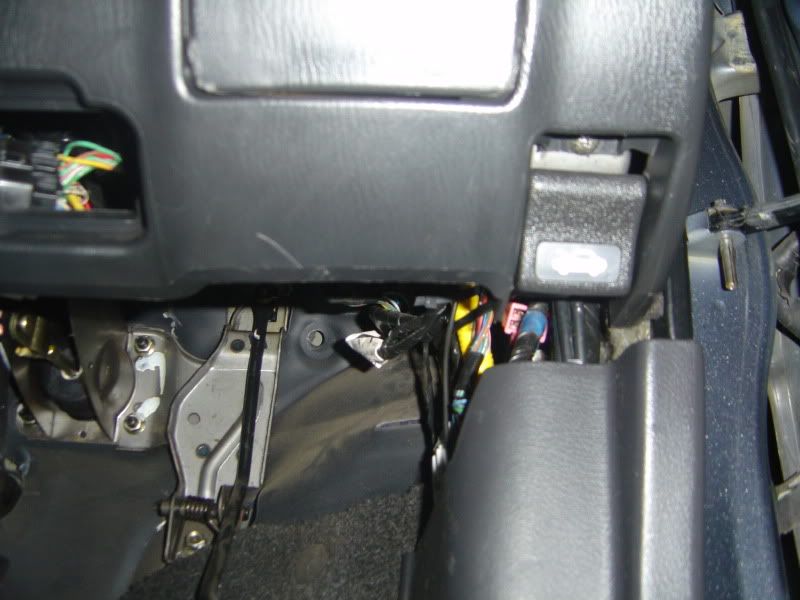
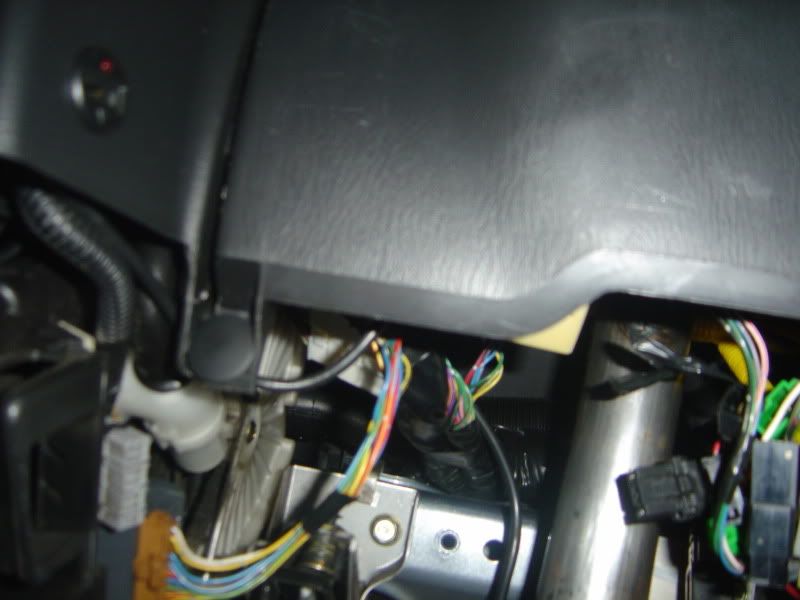
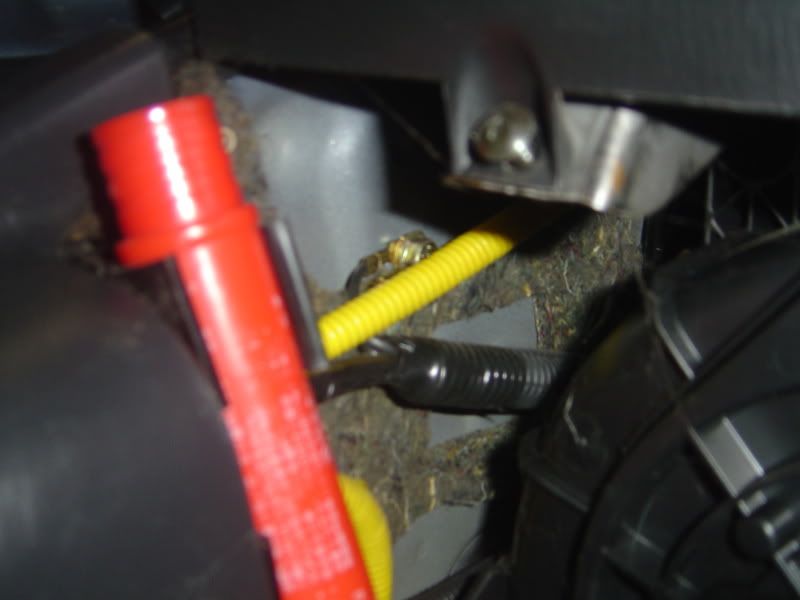
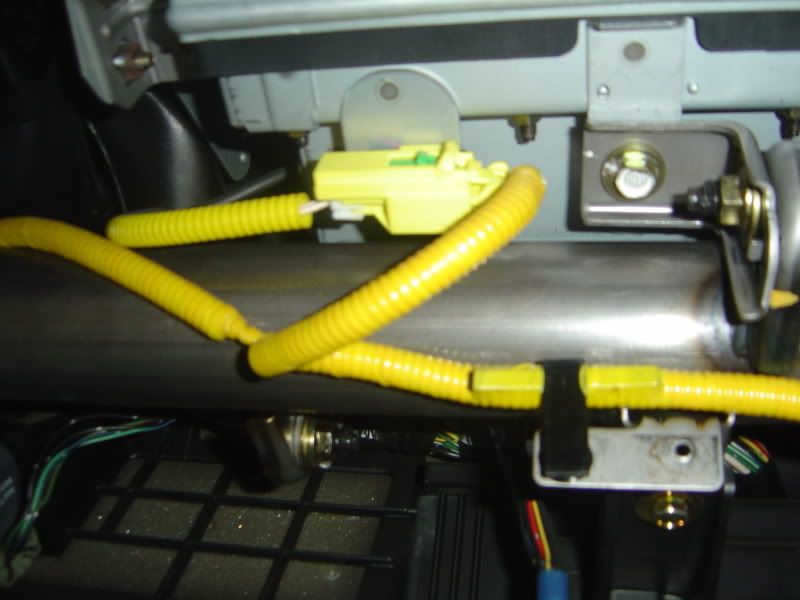
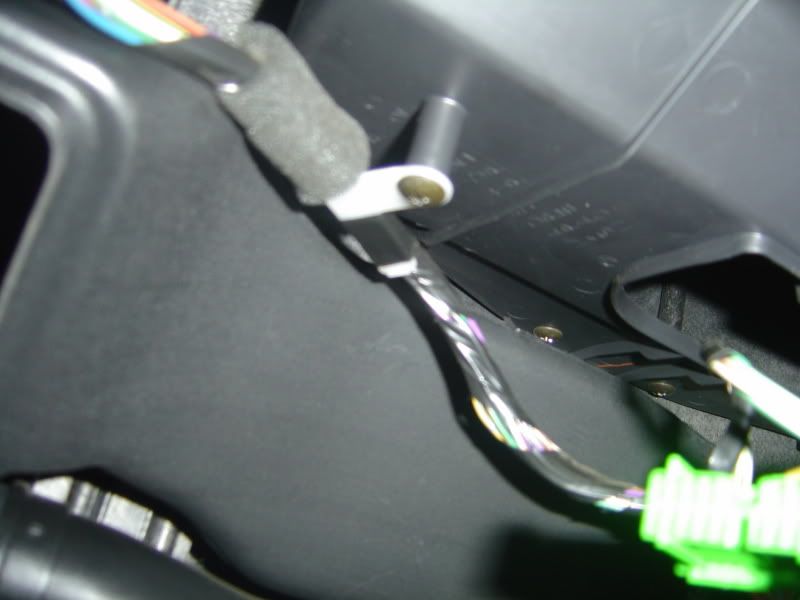
Next look behind where the glove box used to be and you’ll see the airbag connector. You may want to disconnect the battery at this point. The connection is a bit of a fiddle and you need to push the yellow clip in and pull back on the green lug, it should come apart. Anyone who’s changed the airbag steering wheel will know this.
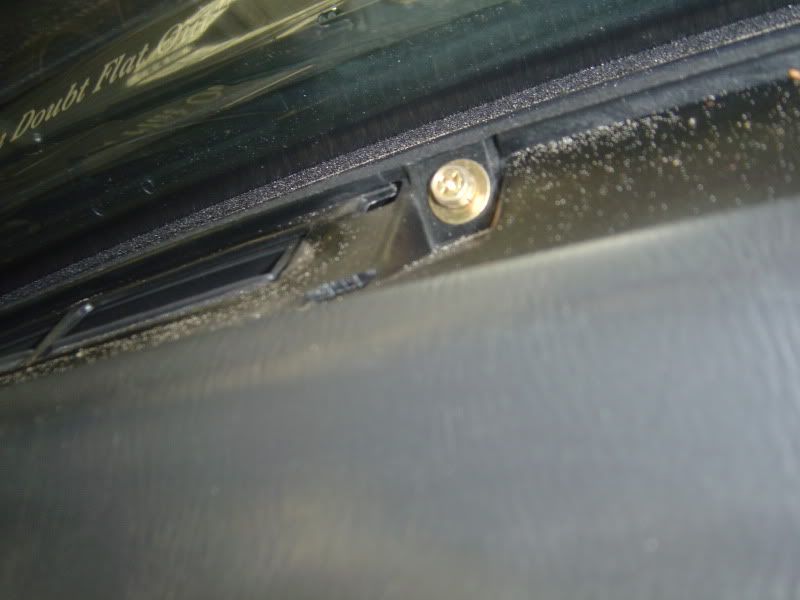
The dash is held on by six or seven bolts. Two are along the top near the wind screen these are 10mm, do them last.
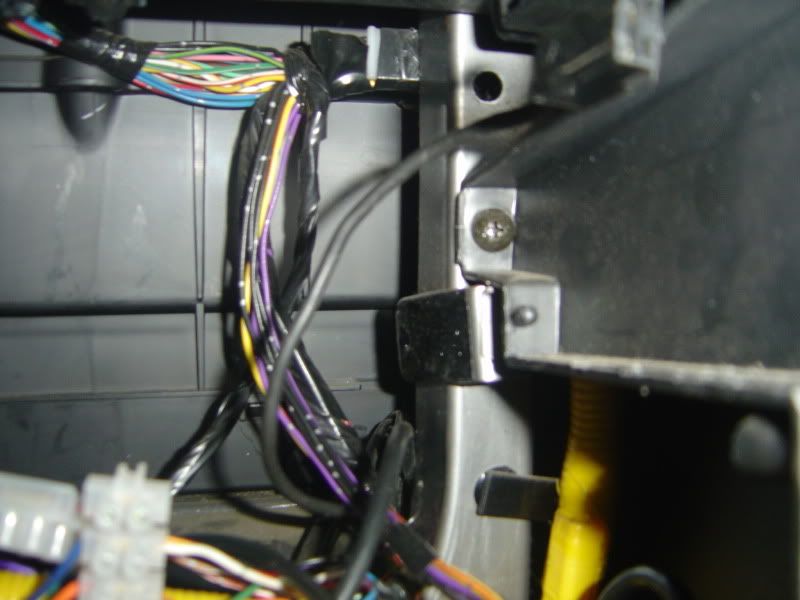
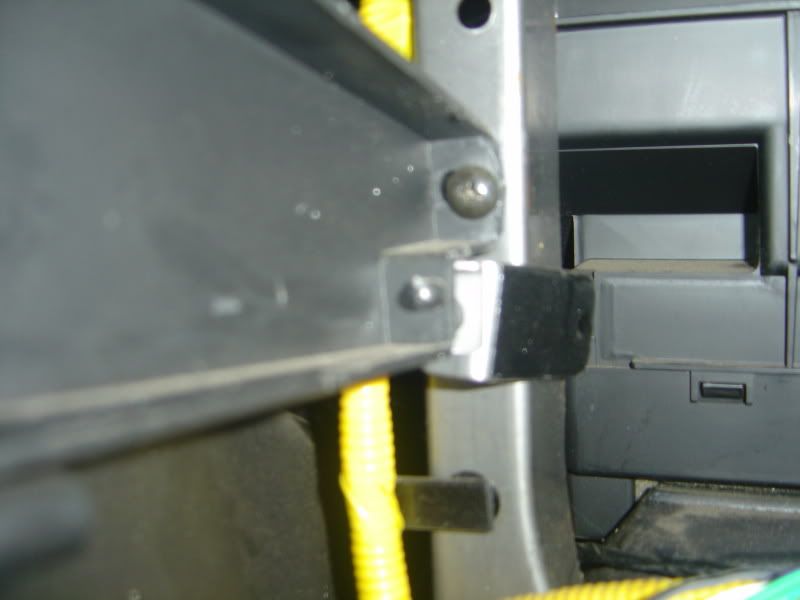
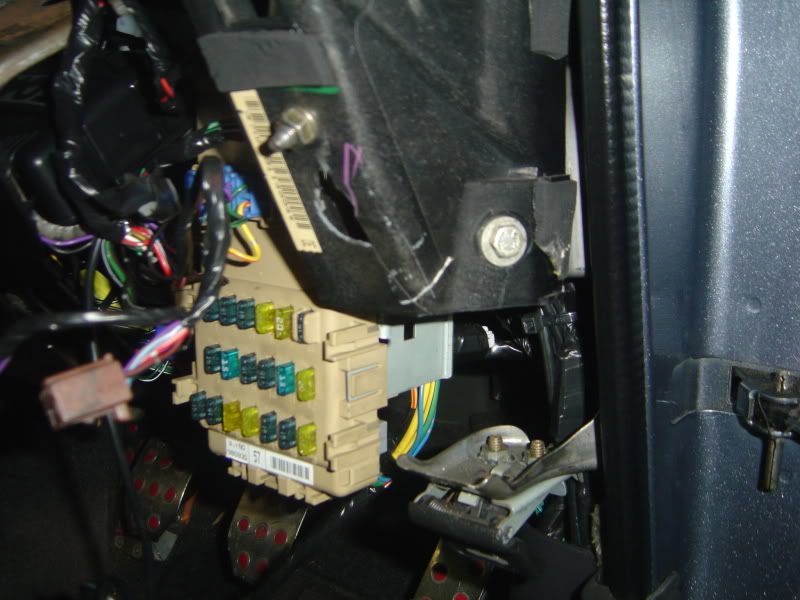
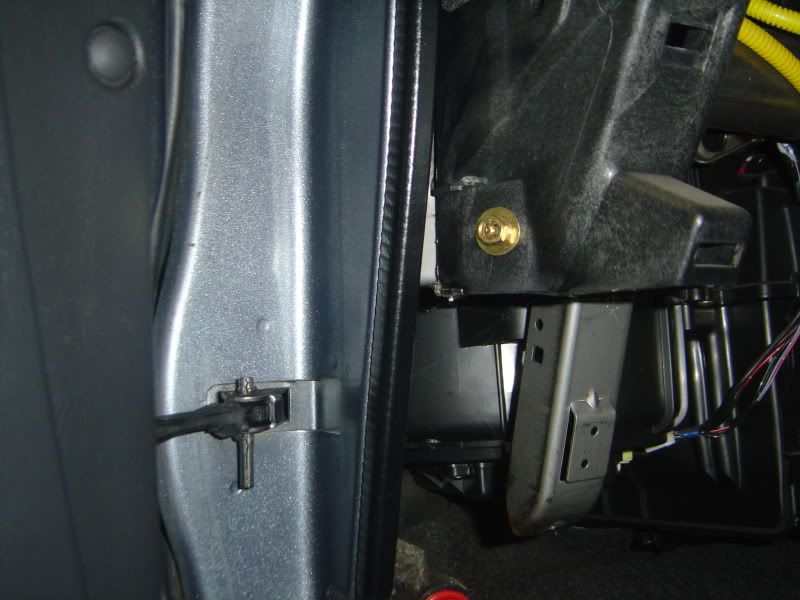
There is one on each end and a control box as a nut attached on the right above the fuse box.
Look underneath near the airbag connection and there are a few brackets if it’s fitted with an airbag. Undo these first. You may need the 12mm socket for these.
Then the end bolts then the top two.
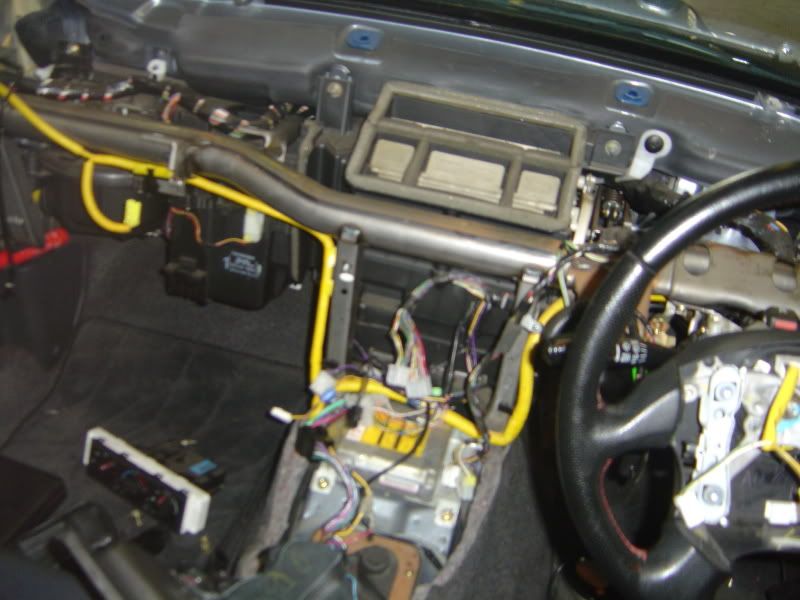
Get a grip of the dash and give it a tug. It should come loose.
BE CAREFUL. THERE IS A HARNESS ATTACHED TO THE BACK OF THE DASH NEAR THE SPEEDO COWL. It’s on a self tapping screw and is awkward to get to.
Top Tip. Once the dash was off I reconnected the clocks and put the resistor into the airbag plug. You can turn the ignition on to check the airbag light goes out.
The only thing left to do is swap the air ducting over from the old dash to the new one.
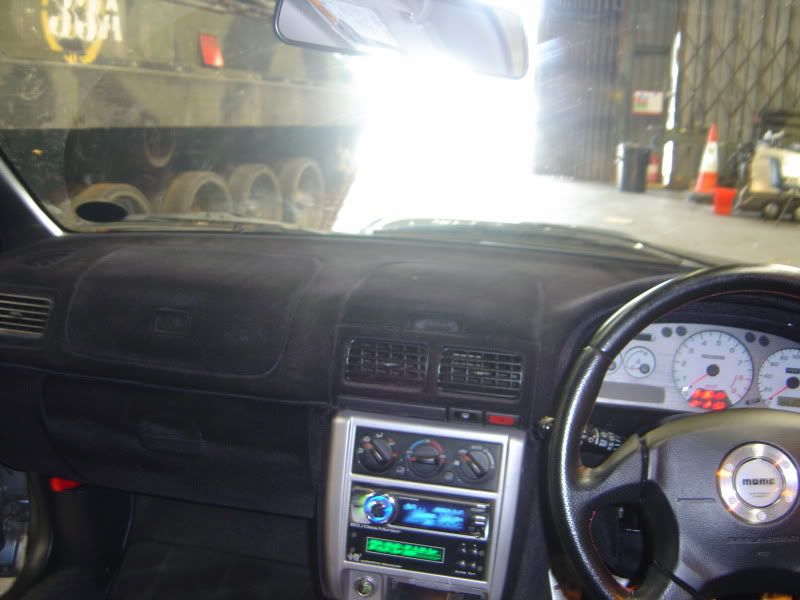
Time for a cuppa, and then it goes back in, this time in reverse order. If you are fitting a non-airbag version you’ll find that you don’t need two of the bolts. This could also be a good time to get gauges fitted or al least all the wiring done.
****e pic of it in
Hope this helps.
Micris fidelis
A flocked dash funnily enough!
Ratchet
Extension
10 mm socket
12 mm socket
Phillips screwdriver
Plastic palate knife
2.2 ohm resistor from Maplin – cost a massive 21p!
Patience, sense of humour, someone to make tea and help you remove the dash top.
I started on the right and removed the lower cowl under the steering column. It’s not too difficult and it’s only held in by two self tappers and an expanding sleeve insert. Use the palate knife to prise out the switches and blanks that may be fitted.
The screws are located just above the bonnet release and to the left hand side of the cowl., my left hand one was a push in jobby (looks like a grey button in the picture) but I replaced it later with a screw. I am upside down by now!
The sleeve insert is on the end of the lower cowl. Unscrew it and the head pops out. It should then come out.
The cowl is held in place by some push in locators. Use the palate knife between the upper dash and cowl and lever it off. It should pull of easily. The ISO Plug for the ECU can be disconnect from the cowl by pushing in the plastic sides. The cowl should now be off.
Next the glove box.
Again, there is a sleeve insert and five self tappers holding the box in.
Open the glove box and there are three inside, at the top left and right of the open glove box and a sneaky one just below the catch for the glove box inside.
The other two are in similar locations to the steering column cowl bottom left and bottom right with the box closed.
With a bit of pulling the box will come off as it’s on some lugs.
Now the centre consul box. Lift the lid of the rear cubby and you’ll find two plastic caps covering the screws that hold the hand brake surround in place. Pop these off and take out the screws.
The surround should just pull off. Disconnect the mirror the electric plug and remove. Now pop off the hand brake surround.
Remove the gear **** and lift the gear surround off. You should be able to prise it up.
There are two screws in the bottom of the rear cubby to remove.
One just behind the gear stick and two below the stereo surround.
The consul pull up and over the handbrake and gear stick.
The stereo surround can be pulled and prised off using palate knife, put your hand in the ashtray hole and use the knife along the edges from the bottom to the top, there are a few plastic lugs along the side and two at the top and the connections for the lighter and ashtray light.
Once it’s off remove the stereo cage and any other bits you may have fitted like gauges, PSI unit or cubby box.
You can leave the heater controls in for now. Next remove the cupholder, rear demister and 4 way switch. These can be push out from behind with your fingers and disconnected. There are two screws holding the cup holder, open it and there is one on each side. Again with a bit of persuasion it should pop out.
You can now take out the centre piece. It’s held in by five screws, one each on the top right and left. Two more are inside on the rails for the stereo cage and a sneaky one inside the top middle. It should now pull out. Disconnect the heater plugs as you take it out.
The cowl around the clocks is next. It’s held in place by two screws in the top. Once these are out the cowl should pull straight off.
You should notice that behind the little slits on the left of the cowl is the air con sensor next to the locating hole.
The clocks are then held by three screws. One top centre and one on either side at the bottom.
Take them out and ease the clocks forward. There are three connecters on the back. Ease these off. They are the squeeze type. You can now rotate the clocks around the steering wheel.
Looks whats on the carpet!
Screws!
Now the easy bit, the dash top section itself. Use a palate knife to prise up the right hand corner of the front panel.
Ease it up and then run the palate knife along the back edge to the left hand side.
Be careful with the aircon sensor on the left. Pop it up and it they pull out of the plastic holder.
Next look behind where the glove box used to be and you’ll see the airbag connector. You may want to disconnect the battery at this point. The connection is a bit of a fiddle and you need to push the yellow clip in and pull back on the green lug, it should come apart. Anyone who’s changed the airbag steering wheel will know this.
The dash is held on by six or seven bolts. Two are along the top near the wind screen these are 10mm, do them last.
There is one on each end and a control box as a nut attached on the right above the fuse box.
Look underneath near the airbag connection and there are a few brackets if it’s fitted with an airbag. Undo these first. You may need the 12mm socket for these.
Then the end bolts then the top two.
Get a grip of the dash and give it a tug. It should come loose.
BE CAREFUL. THERE IS A HARNESS ATTACHED TO THE BACK OF THE DASH NEAR THE SPEEDO COWL. It’s on a self tapping screw and is awkward to get to.
Top Tip. Once the dash was off I reconnected the clocks and put the resistor into the airbag plug. You can turn the ignition on to check the airbag light goes out.
The only thing left to do is swap the air ducting over from the old dash to the new one.
Time for a cuppa, and then it goes back in, this time in reverse order. If you are fitting a non-airbag version you’ll find that you don’t need two of the bolts. This could also be a good time to get gauges fitted or al least all the wiring done.
****e pic of it in
Hope this helps.
Micris fidelis
Last edited by The Trooper 1815; 12 September 2010 at 09:50 PM.

 12 September 2010, 10:58 PM
#3
Scooby Regular
iTrader: (100)
Join Date: Oct 2008
Location: Planet Earth
Posts: 13,684
Likes: 0
Received 0 Likes
on
0 Posts
Good job there Ian  , just one thing though how do you remove fluff, hair etc from the flocking?
I wouldn't mind a flocked dash but this puts me off as the flocked gauge pod on my car seems to attract fluff and hairs.
, just one thing though how do you remove fluff, hair etc from the flocking? I wouldn't mind a flocked dash but this puts me off as the flocked gauge pod on my car seems to attract fluff and hairs.

Trending Topics
13 September 2010, 10:39 AM
#8

Nice write up, should help some people out.
So did you already have a passenger airbag, hence the cubby hole?
I like the idea of the flocked dash, to avoid the reflection on sunny days. But I think I would only have the top half done. Less to de-fluff aswell.
So did you already have a passenger airbag, hence the cubby hole?
I like the idea of the flocked dash, to avoid the reflection on sunny days. But I think I would only have the top half done. Less to de-fluff aswell.


Thread
Thread Starter
Forum
Replies
Last Post